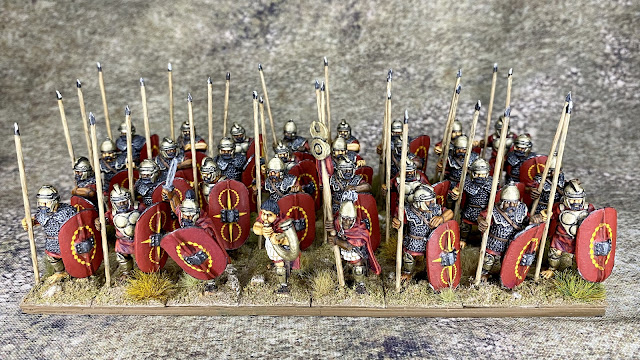
When I got back into wargaming in the early 2000's (I had previously played Rogue Trader WH40K back in the 1980's), I was really interested in moving from Sci-Fi into historical battles, but had no idea where to start. Poking around various forums in those early interweb days, I saw references to a new Warhammer Ancient Battles (WAB) game that seemed to be all the rage with 28mm players. Given my previous WH40K background, this seemed a natural place to jump in and I managed to track down the rulebook and "Armies of Antiquity."
After talking with various people online (including a very helpful Allen Curtis, who would go on to write the "Hannibal and the Punic Wars" supplement for WAB), I thought the variety of troops found in a Carthaginian army would make for a fun bit of painting. With the advice of Allen and others, I assembled my first army from various manufacturers and managed to play a few tournaments at "The Shield" historical conferences in the San Francisco area. Unfortunately the conference shut down (and later Warhammer Historical itself), so without access to other players in my area, my army sat in storage for over 15 years.
But recently a gaming buddy of mine expressed an interest in playing ancients with the Hail Caesar rules, so I thought it was time to dust off my Carthaginians. I had about 200 figures painted, and another 200 or so that had never been finished. Given the age of my army and my limited access to paint and other supplies at the time, I figured a makeover was needed to bring them up to more modern standards.
Here is what they looked like out of the storage boxes. The painting was only a two tone affair, decal options were limited, and the steel bases were just green with some added model railroad flock and rocks. While not a complete disaster, there was definitely room for improvement, particularly with the bases.
With the large number of figures to process, I had to make a decision of how far down the refurbishment rabbit hole I wanted to go. I went with the following:
- I would not fully repaint the figures for the most part, but add additional highlights and washes as appropriate. The bare figures would be painted to match using the old color schemes, rather than my new recipes.
- I would still use some of the old Veni Vidi Vici monotone water slide decals, but would also add in some Little Big Man Studios decals as appropriate for some added pop.
- Rather than try to break the figures off their old bases and switch them to plastic or MDF, I would stick with the steel bases for the army. I was also going to leave the base sizes and unit formations as is, rather than adjust them for the Hail Caesar recommendations.
- The old flock and other basing materials were to be removed. The bases would be coated with Vallejo ground texture, the rocks better integrated into the ground, and a dusting of light flock and modern grass tufts added.
The first unit through the process was a batch of A&A veteran African spearmen.

For this unit, I kept the original VVV shield decals, though added some wash and highlights. Skin and clothing got highlights, and the edges of the linen cuirasses were lightened from black to a sand color.
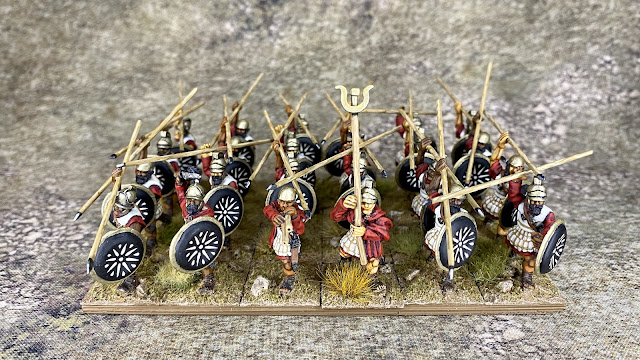
1st Corps African/Libyan Hoplites
These were upgraded in the same manner as the A&A figures. I hadn't painted in the eyes originally (these figures are a bit smaller) and attempted to do so during the refurbishment, but the shield and spears got in the way of my brush. As such I gave up and left the eyes as is.
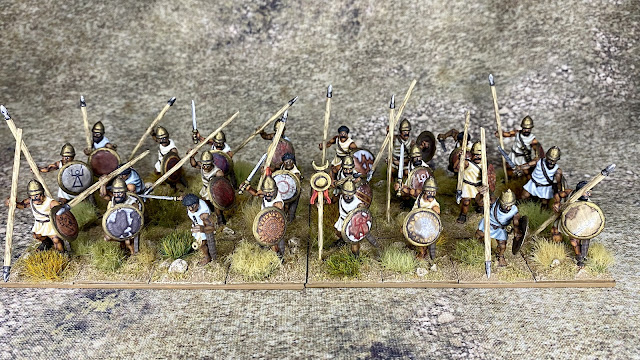
Wargames Factory Numidian Light Infantry
I never assembled these plastic figures back in the day, so they were new to my army. Considering they were one of the very early 28mm historical plastic kits for wargaming, they actually looked pretty good. The kit came with javelins instead of spears, so I replaced them here. Unfortunately, I was out of wire spears and had to use my stockpile of pewter ones. They are a bit thick as a result, but it got the job done. I trialed the Little Big Man decals on this unit and while the designs were lovely, I had some issues with the edges of the decals bunching up on the convex shields. For the next batch of convex shields, I think I'll try cutting divots out of the edges to see if that helps.
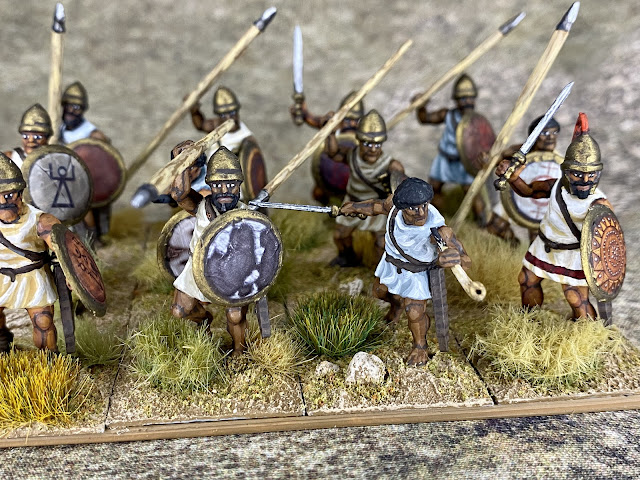
And here is a bit of a size comparison. This army was built during the transition from 25mm to 28mm figures, so I had some size discrepancies between the manufacturers. 1st Corps figures were only around 25mm to the eye, while the other two manufactures were 27-28mm.
I still have a long road ahead of me to finish the rest of the figures, but I'm happy with the initial upgrades and am optimistic that the final army will be looking much better.


Hello,
ReplyDeleteVery nice painting !!!
Nikkobourges
Thanks!
ReplyDelete