Wednesday, October 22, 2014

Star Blazers/ Space Battleship Yamato: Gamilon Ships Part 1

After working on the WWI African project for so long, I thought it was time to take a break and work on something else.  This past summer I was in Japan, where I discovered Bandai had released a new batch of models celebrating the old  Space Battleship Yamato (宇宙戦艦ヤマト) series from the 1970's. As a kid it was one of may favorite cartoons (marketed in the U.S. as Star Blazers), and years ago I had purchased some miniatures and rules from starblazersonline.comThey had sat unbuilt due to a lack of opponents, but the nostalgia drove me to dig them out this month and do some work on them.


Start of the Gamilon fleet
Before working on the star of the show, I thought it best to get my feet wet by building and painting spaceships from Earth's enemies, the Gamilons ( Gamilas in the original Japanese).  The show depicted them in a variety of garish color schemes, so these were the perfect change from the various shades of khaki and tan I had been painting.


A mid-size ship type. The brass fins have been added to the ship on the left.
The ships aren't particularly huge, ranging from about 1.5cm for the small escort ships, to 5-6cm for the main battle craft.  In the original show, the artist Leiji Matsumoto (松本零士) loved to draw spaceships with all kinds of fins and antenna sticking off of them. While it may look good onscreen, it's a nightmare for miniatures. 

Casting them in white metal would have resulted in something that was quite fragile, so Musashi Enterprises instead provides etched brass pieces instead.  While I think this is the best option for the situation, they are very challenging to work with. Most of the pieces are in the 0.5cm range, and I found them difficult to remove from their frames without leaving metal burrs on the edges.  I did try filing them down, but due to their size, they had a tendency to pop out of the needle nose pliers during the process, resulting in several lost pieces (luckily I had purchased enough ships that I had spare pieces available). Your best bet is to trim them as close as you can with an X-acto blade and just live with them.  

Attaching them is also a difficult process, involving quite a bit of swearing. Many of the ships have grooves where they are supposed to fit, but they aren't always there or are too shallow to be much use.  Some of the pieces have pegs on them that are supposed to help with positioning, but I found they didn't work well and just cut them off.  As such, I would not recommend these ships for new modellers or those short on patience, but I was happy with how everything looked after assembly.

The ships are supplied with plastic flight stands, but I was concerned the pegs to mount the ships on would not be strong enough and could snap during game play. I decided to drill them out and use some stiff wire to connect the ships to the stands. Musashi also makes adapter heads for the flight stands that allow you to attach more than one small ship to each stand (it appears the rules allow multiple ships to occupy the same hex without risk of collision unless you get over a certain total tonnage).


Be prepared to do some detailing
As seen earlier, the folks at Musashi are kind enough to include a sheet with each kit detailing the fins needed for each ship and the color schemes from the show. Painting single colors results in a rather bland looking ship that hides the details, so you will need some black ink and highlight colors if you wan these ships to look decent.

The ship sculpting was fairly well done (especially on the larger ships), but you can tell these were all done by hand, as there is a bit of asymmetry in some ships. I also had some pieces that didn't fit tightly, so I needed to use super glue to fill the gaps. Casting quality varied; while no ships were horribly cast, some ships had pitting and flash indicating the molds were wearing out. It seems like they are switching over to resin with their newer ships (all my purchases were white metal), so maybe that will help. 

OK, on with the ships completed so far: 
2005 Gamilon Destroyers
 The destroyers are some of the smallest ships I purchased. I thought they would look a bit goofy if I mounted them one ship per stand (plus would take a lot of time moving them on the table), so I decided to group them in squads of four. Being so small, the sculpted detail on them is fairly minimal, so you'll need to add that detail in with your painting.


2024 Gamilon Strike Cruisers
 Though it was a bit tricky getting the fins glues on these crisuers, I think they are a rather fun design and I enjoyed painting them.  Overall the casting was fairly good, though one ship seemed to be missing part of the top of the bridge, and had some flash build up on the tail that had to be filed down.


2022 Gamilon Battle Carrier II
 The improved battle carrier is an interesting ship design; when not launching fighter and bombers, the landing deck rotates under, revealing additional weapons systems. Being a ship without fins, it was fairly easy to put together and painted up nicely.  Sadly most of my highlighting doesn't show up well in the photo.  Casting quality was good.


2007 Desslock Command Ship II
The last ship for this round of painting is the second version of Desslok's (leader of the Gamilons) command ship.  A bit goofy looking due to the SMITE pods on the nose, these pods allow the command ship to teleport other ships around the battlefield.  This was a well cast kit and fairly easy to paint.

I still have a few more Gamilon ships on the painting table, so I'll share those in a future update before I move on to the Earth ships. Despite some of the assembly frustrations, I think the miniatures capture the spirit of the show and will look nice on the table.

Sunday, September 21, 2014

Neu-Moschi German Boma: First Buildings

I've started working on my government administrative offices/boma for German East Africa, and I now have two buildings ready:
Administrative Offices/ Officers' Quarters
Askari Barracks
While searching for old photos of Neu-Moschi (Moshi), I came across a fantastic Flickr account belonging to Mih Peh (Michael Pesek), which is jam packed with images of Germany's colonial territories.  Among those were two images of the German boma:
Source: Flickr
Source: Flickr
The boma was rather large; in fact, much larger than I expected and bigger than I could hope to fit on my table. As such, my plan is to build a scaled down boma.  I  decided to pass on the Germanic-style back end and instead focus on the lone building seen on the left side of the first picture, along with a single barrack.  I may add in a few small outbuildings once I get some walls put together and figure out how much space I actually have.

 As with my previous hotel, the building core will be a Middle East townhouse from Najewitz Modellbau. For this project, I'm going to rotate the building 180 degrees and use the single-door back as the main entrance. Since I've previously discussed the Najewitz kits, I'm not going to go into detail on its construction in this posting.

The addition to this building is a two-story veranda and a metal roof. Since the single-story veranda on the hotel had issues with fragility, I needed to make this taller one much tougher if it was going to hold together during use. I made two design choices to help with this: the posts on the ground level would be a heavier, masonry style; the veranda would share a roof with the main building instead of having it's own (this would also make it easier to place figures on the upper level).

 For the lower posts, I started with 1/4" x 1/4" basswood strips from Mt. Albert Scale Lumber, obtained at the local train shop. In an attempt to get them all about the same height, I clamped several strips together for the final cut, then used a file to render the ends flat.

To give them a bit of texture, the posts were coated with Liquitex ceramic stucco finish and allowed to dry overnight. For the two posts that would be up against the building, only three sides were coated, so as to allow a tighter fit.

After drying, the posts were run across some medium grit sandpaper to smooth out some of the really rough spots and have them better match the building texture.

Both floors were created using 1.5mm thick art board.  For the ground floor, I used the edge of the building as a template to get a tight fit.  I didn't worry about this as much for the upper deck, as I was going to add boards to the floor that would cover any gaps. The first four posts were glued to the upper deck, and I used some Lego blocks to hold them in position as they dried. My boys were adamant that I not get glue on their Legos, so they were coated with a layer of plastic tape before use.

After drying, the deck was flipped over and the bottoms of the posts glued to the ground layer.  I also added the internal posts as well, with their positions determined by where I would need to add the posts for the second level.  There would be one upper post that would be right above the front door, but I decided not to add a post to the lower level to make it easier to move figures in and out.

Before adding the upper railing, I painted the lower section, including a bit of brown to the card on top.  Though I am adding wood slats, I didn't want bits of white card showing through that I wouldn't be able to easily paint.

The railings are plastic O Scale items produced by Grandt Line (Item 3505).  The project required two packets for the veranda. There is an actual front and back to the railings, so you want to make sure you have the correct side facing outwards during your build. Since sturdiness is needed on this project, I trimmed down the overhang on each end of the railing so that I could also glue the slats up against the posts. Even though the railings are supposed to be 1:48 scale, they were a bit short on their own when placed next to my figures. Rather than raise the railings up and leave a gap underneath, which would weaken the structure, I decided to insert an additional strip of plastic rod under them.   This is the same materiel as the posts, which is Evergreen Scale Models 2.5mm x 2.5mm strips (Item 175). The railing are about the same thickness, so they are a really good match together. For the posts, I cut them approximately 1.5mm short of the roof height, so that the roof would not actually rest on them. This was to prevent any downward pressure that might cause the posts to bend and potentially snap out of place.

I built the railings in sections: two for the sides, and a long series for the front, using a straight edge to keep everything even and superglue for the plastic parts.

The railings were attached to the card floor using wood glue. I added a side section first, using the building to hold it in the correct position.  Then came the front (with some additional superglue for the plastic on plastic connection), and finally the remaining side. After drying, planking cut from a basswood sheet was added. Everything was painted dark brown, then dry brushed with leather brown and earth brown.

For the hotel build, I heard from a few people who mentioned they were a bit intimidated about taking on the roof construction  for their own scratch builds. As such, I'm going to provided a much more detailed guide on how this roof is built.  First up, is another bit of art card cut just a bit bigger that the building.  The reason for this is to allow the plastic strips seen earlier to be glued around the edges to hold the roof in place, and also provide a small gap for sections of the building that aren't perfectly square.  Additionally, this edge will also hide the gaps between the roof and the veranda posts. As a final bit of security to prevent the roof being pushed back against the veranda posts, I used some scrap plastic strip to create a groove to lock the roof onto the back wall.

The roof panel fitted to the building; no gaps visible above the posts.

Now the main roof construction starts. Again this is done using art card and wood glue.  You may wonder why I am using paper card instead of plastic. The reason is it's easier to cut and trim paper of equivalent thickness, with a final product that is still fairly sturdy. I draw out where all the roof supports will go and start with the center support. This is again held up with Lego blocks.  Once it is dry, I measure the length needed for each of the supports for the next phase, noting the lengths on the board. This is done to accommodate the thickness of the main support and any spots where I was off in my alignment.

Side supports go in, again using the Lego blocks to hold positions while the glue dries.

The angled supports are the trickiest to cut, as the thickness of the card will prevent them from sitting completely flush in the corners.  Most likely you'll need to knock of a millimeter or two off the measured length to prevent any overhang. The same holds true for the small side supports that come off of them.

 The plastic sheets with the corrugated metal pattern are relatively thin and floppy, so I like to build a card surface underneath for them to be glued down on. I use the underlying supports as a cut guide, making sure not to completely cover the angled supports as I glue down the first two card surfaces. I also do not use glue on the sides at this point, as I want a smooth surface for the remaining two sides to sit on. When the last two pieces are added, I'll run wood glue down the seams to lock all four pieces together.

Once the card has dried in place, The plastic sheets are added to the top, again using wood glue.  I am using Evergreen sheets (Item 4530), and two packets are needed to cover this roof.  The sheets are not wide enough to cover each panel, so care will need to be take to make sure the seems are lined up properly between pieces so as not to disrupt the pattern.

After the plastic sheets have dried, I use strips of manila folder that have been scored down the middle to cover the roof seams. I use strips longer than necessary, then trim them back with hobby scissors after the glue has dried.

 Next up is painting the roof.  I like a grungy, rusty look to mine, with a pattern to make it look like the roof is made of individual sheets. After a coat of grey enamel primer, first dry brush the roof with some natural steel. After letting it dry, I tape off rows of panels using hobby masking tape.  In this case, I will have three rows on the wide sides, and two on the small. Due to the thickness of the tape, I mark out alternating rows.  Here I've added some diluted dark grey craft paint, followed by diluted saddle brown.

Next I retape  to paint the rows I skipped.  Make sure you let the initial rows dry fairly well so you don't pull off the paint you just put down.

After the tape comes off, I add some more diluted grey and brown paint to areas previously covered by tape.
 
With this dry, I dry brush with light grey, followed by rust highlights of red leather and orange brown.  This is then sprayed down with flat sealant.


The Najewitz building comes with one wall that has no windows, which would put the occupants at a serious disadvantage in a firefight, so I decided to use some free Turkish balconies that were generously included in my order. These are laser cut fiberboard, and I painted them the same as the other wooden elements on the building.  As I didn't want the white wall to be obvious though the slats, I glued some black paper to the back of each balcony before using wood glue to attach them to the building.

An here is the finished product. As you can see there are actually no doors leading out to the upper balcony.  I considered building some that could overlay a window, but I though the final product would look rather wonky and decided against it.  My hope is nobody will really notice that issue when it's on the table.


For the askari barracks, I decided to use the Rorke's Drift hospital. This is produced by 4Ground, but I bought it through Warlord as they will let you buy individual buildings instead of the full set. In this case, I decided to make no modifications to the kit.  Most likely the boma building would have had a metal roof as well, but I like the variety a thatched roof  brings to the gaming table and I think it looks better if I want to use it as a stand alone farm.

The kit is very well designed, and the fit is so snug you almost don't need glue for some of the connections. It comes unpainted, but mine included the teddy bear fur thatch roof.  I know many people like to use diluted  glue and paint on their fur roofs, but I decided to leave mine as it rather than risk messing it up.

The kit includes a detailed interior and a removable attic space.  There is a little give in the attic floor position, so sometimes it can be difficult to get the roof to fit properly with the upper floor in place. The kit did not include any doors, which is a bit of a disappointment, but it looks like doors can be ordered  separately.   That minor annoyance aside, it's a great kit and I recommend it.

To finish out my boma, I'll need to build some walls to enclose the compound, but haven't decided yet on if I want to make them from scratch or buy some MDF walls from one of the many vendors out there. I'll put some thought into in and come back with an update once everything is done.

Saturday, August 23, 2014

German East Africa: Outpost Attack AAR

So Steve, Victor, and I managed to meet up for some African gaming today.  The local hobby shop was unavailable due to a swap meet, so Victor's wife graciously allow us to take over her dining room.  She even fixed lunch!

The game consisted of a raid on a German outpost (Steve) by native and British troops (Victor and yours truly).  To make things a bit more interesting, we also had some wild animals roaming the board, along with some cattle that could be captured and used to offset a failed moral test.

Overview of the outpost

 An advanced KAR unit deploys on the British left to flush out any hidden German troops.

British infantry prepare to start up the road.

 German askari prepare to move through the banana trees.  Lions have recently been spotted around the farm, so they have to be careful.

 Victor decides to don some appropriate headgear  as he deploys his askari.

The start of round one, and it's time to review rules as everyone is a bit rusty.

German troops safely snake through the banana trees behind a scout, while a puzzled rhino looks on.

The advanced guard of KAR troops spring a Masai ambush.

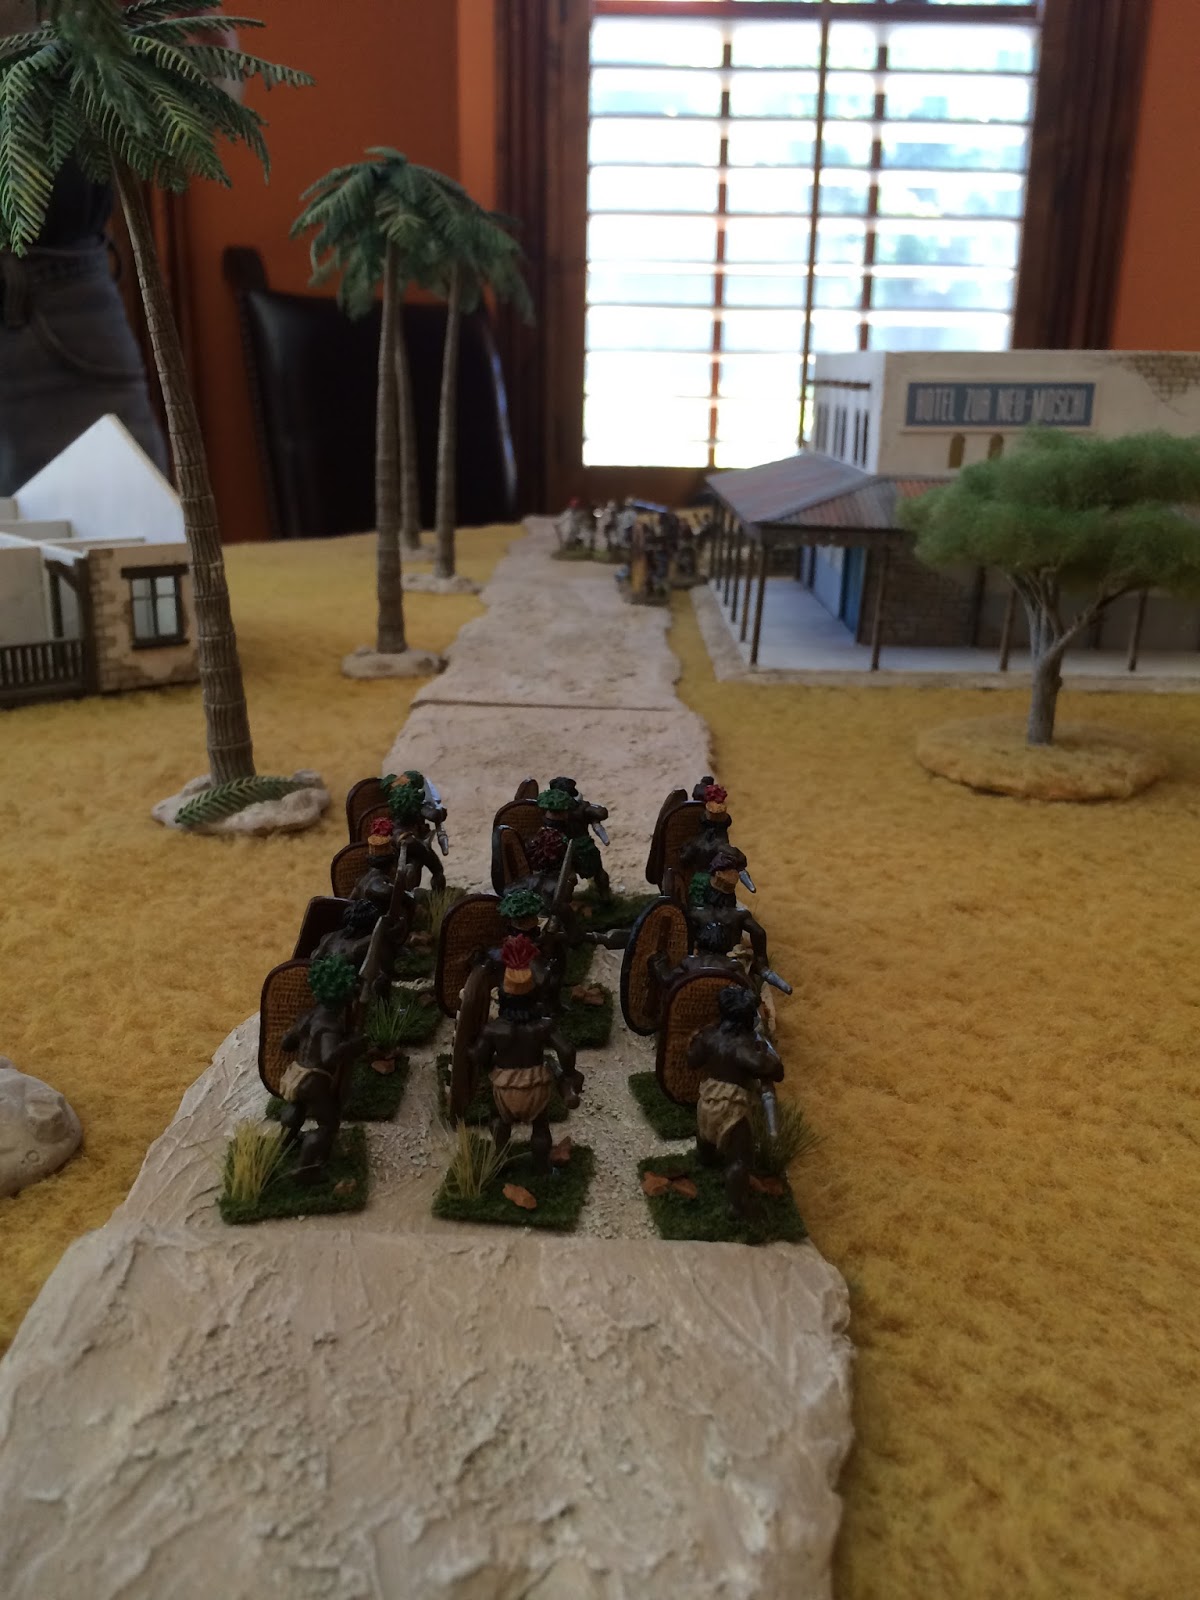
Native warriors break out of the scrub brush and head down the road towards the hotel.

The German command and a small group of native archers assemble at the trading outpost.  Askari have been stationed at the hotel windows to snipe at advancing forces.

British askari scurry out from behind the hill and manage to avoid the German snipers.

The KAR troops pull back and set up a firing line in preparation for the Masai assault. A European settler and the British forces also start to get into position.

Native horsemen and riflemen spring out of the bushes on the British right and head for the outpost.

In a panic, the KAR troops only manage to shoot one Masai before the onslaught begins. 

Native warriors rush down the road towards the German command.

The German scout leads the askari up a hill, where they have a prime view of battle between the Masai and KAR.

The Germans send out a witch doctor to spook the native troops, but he is quickly gunned down before he can cause a panic.

German askari continue their trek from the farm to the hill, managing to grab some cattle that had passed  through their line.  The rhino has wandered off, but is still in the area.

Spotting the natives coming down the road, the German command and the archers start to advance.

 The battle with the Masai is a bloodbath. The few KAR not slaughtered run like mad off the board.  The European settler looses his gun porter, but manages to survive. 

German sailors enter the farmhouse, only to discover there is no path from the back doors to the front veranda.  They will get bogged down trying to break through the walls.

 The natives and askari are almost to the hotel.  They manage to grab some cattle on the road, but the hotel snipers score some shots as they move forward.

The rhino has returned and though annoyed, it doesn't charge into the German askari. 

Not being stupid, the lone European settler will beat a hasty retreat from the Masai and look for a spot to hide.  In the background, the British command prepares for what they know is coming.

A firefight breaks out between the British askari and the German archers, while the German command runs for the farmhouse. The native chief and his warriors don't plan to let them get far.

The Masai slam into the British command, while troops head for the hill in hopes of establishing a firing line.

A lion appears, dragging one of the German askari to his death, while the rhino continues to be puzzled by the whole situation.

British askari engage the archers, while the British-allied natives chase down the German command.

Native horsemen and a witchdoctor head towards the sound of battle.  The German snipers try to hit them but fail.

However, the snipers do manage to drop a few members of the chief's entourage.


Last moments of the British commander. At least he managed to take one warrior with him.

 Hand to hand combat breaks out at the hotel.

The German askari and a sharpshooter (hidden in the banana trees) whittle down the British riflemen, while the Masai swing around the hill and eventually finish them off. The British settler hiding under the lower right tree manages to shoot down the German scout.

You can run, but you can't hide.  The chief's warrior surround the German command.

The German askari on the hill take out the sniper.

The native horse head towards the Masai, but come under fire from the sailors in the farm house, who have finally made it to the front of the building.

Some of the German askari finally emerge from the hotel (they had been trying to open the door for a few rounds) and engage the natives in the scrub.  The native horse suffer further losses and flee the field.

The chief watches with glee as his warriors dismember the German command.

At this stage we were out of time and had to end the game, but chalked it up as a German victory.  It was a lot of fun and I was really happy to have a chance to try out my new terrain. Plus the hotel veranda survived the trip to Victor's house and back, which was a great relief.