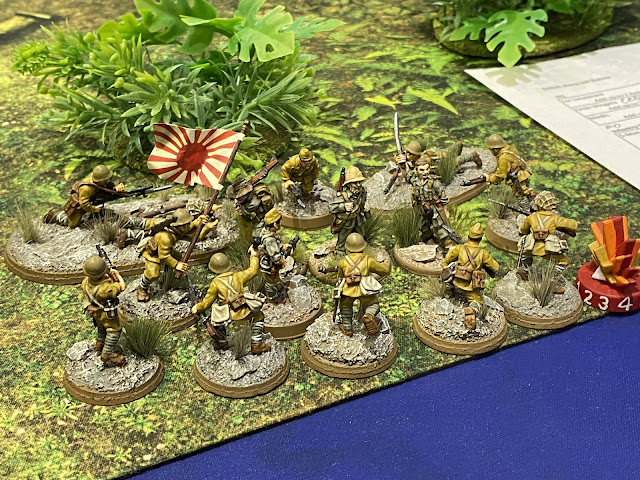
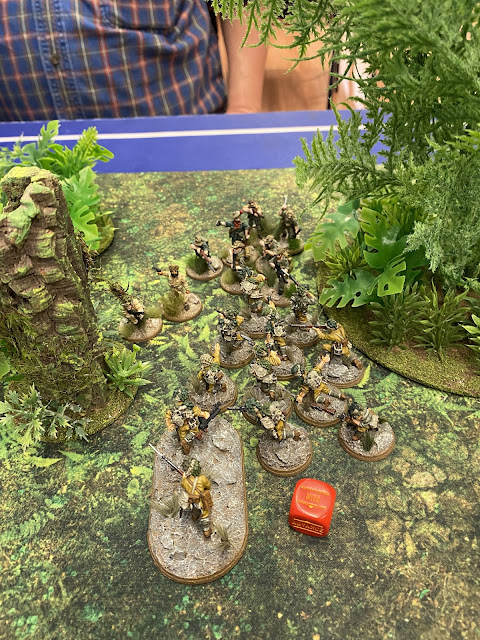
Showing posts with label Japanese Army. Show all posts

Tuesday, May 28, 2024

Bolt Action: Battle of Mutanchiang 1945 AAR

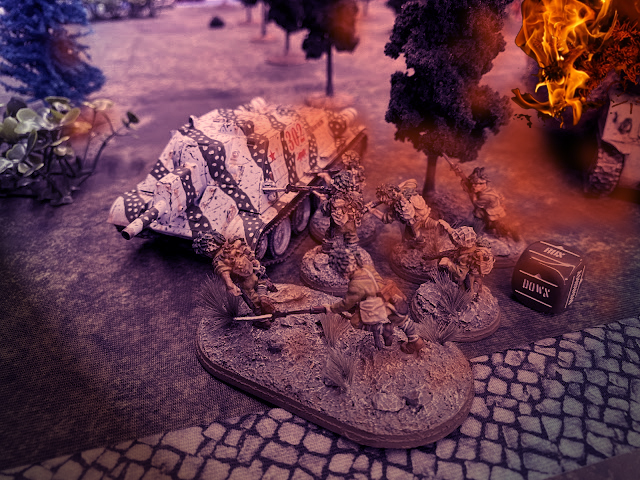
For our latest game of Bolt Action, Art and I decided to fight the Battle of Mutanchiang from 1945. The Soviet Union had declared war against Imperial Japan and launched an overpowering night assault against the city of Mutanchiang, which was being used by the  Kwantung Army as a base of operations. The Japanese army decided to fight a rearguard action, leaving a skeleton force to slow the Soviet advance while the majority of the army evacuated to Tunghua.

For this scenario, The Soviets had to get at least half their units across the table and through the three available exit routes before time ran out. The Japanese were dug into the ruins, with additional fortifications of barbed wire, minefields, anti-tank ditches, and a roadblock. We also used the "Flare!" night fighting rules, so visibility varied from round to round.

Round 1: 

Flare were sent up by the Soviets, illuminating the city ruins. However, the Japanese chose to remain hidden.

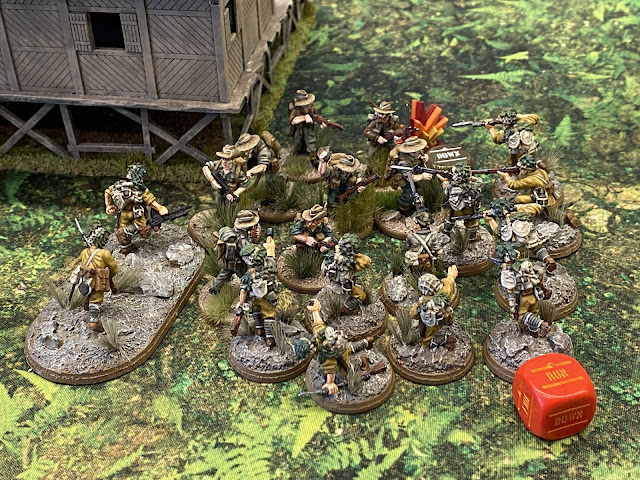
The Battle of Mutanchiang: A 28mm Bolt Action wargame between the Imperial Japanese and Soviet armies.

The Battle of Mutanchiang: A 28mm Bolt Action wargame between the Imperial Japanese and Soviet armies.

The Soviets launched a preparatory bombardment of the city prior to advancing. Many of the Japanese units were stunned and received pin markers, but all survived. However, the roadblock and a section of barbed wire were destroyed.


The Battle of Mutanchiang: A 28mm Bolt Action wargame between the Imperial Japanese and Soviet armies.


Round 2:

As the flares faded, the Soviets began advancing in earnest. 

The Battle of Mutanchiang: A 28mm Bolt Action wargame between the Imperial Japanese and Soviet armies.

The Battle of Mutanchiang: A 28mm Bolt Action wargame between the Imperial Japanese and Soviet armies.

The darkness prevented any accurate exchange of gunfire, with the exception of the Soviets' Katyusha rocket launcher, which attacked the large ruins seen the previous round. A flamethrower team was killed by the explosions, but the rest of the entrenched Japanese survived the attack.

The Battle of Mutanchiang: A 28mm Bolt Action wargame between the Imperial Japanese and Soviet armies.

The Japanese used the rest of the round to rally troops and shed pin markers.

Round 3:

Another round began in darkness. The Katyusha launched a second rocket barrage against the ruins, this time killing the Japanese Major in charge of this sector.

The Battle of Mutanchiang: A 28mm Bolt Action wargame between the Imperial Japanese and Soviet armies.

A Soviet Sherman tank and the entrenched Japanese Chi-Ha tank exchanged fire in the dark. The fortifications deflected the Soviet shell, and the Chi-Ha's round was too weak to penetrate the Sherman's armor.

The Battle of Mutanchiang: A 28mm Bolt Action wargame between the Imperial Japanese and Soviet armies.

A second Soviet Sherman approached the Japanese defenses, wary of a patch of freshly dug earth in front of the barbed wire. It opened fire on the shadows moving behind the barricades, but was ineffective.

The Battle of Mutanchiang: A 28mm Bolt Action wargame between the Imperial Japanese and Soviet armies.

A Japanese machine gun team spotted arriving Soviet transports, opening fire on one.  They managed to hit a fuel tank, destroying the truck and killing some of the infantrymen.  The survivors scurried into the underbrush, their morale shaken.  

The Battle of Mutanchiang: A 28mm Bolt Action wargame between the Imperial Japanese and Soviet armies.

Round 4:

More flares went up from the Soviets, A Japanese sniper team worked to pick off the survivors of the burning truck.
The Battle of Mutanchiang: A 28mm Bolt Action wargame between the Imperial Japanese and Soviet armies.

A third Soviet Sherman arrived and quickly decimated a squad of Japanese infantrymen.  The lone survivor quickly fled into the dark. To patch the gap in the defenses, another infantry squad arrived, along with a suicide anti-tank hunter.

The Battle of Mutanchiang: A 28mm Bolt Action wargame between the Imperial Japanese and Soviet armies.

Soviet infantry arrived at another Japanese barricade and were quickly run across the disturbed earth by their commanders.  The lack of explosions showed there were no anti-personal mines, but likely anti-vehicle mines. With the support of  the Sherman's machine gun, a firefight broken out with the Japanese infantry.

The Battle of Mutanchiang: A 28mm Bolt Action wargame between the Imperial Japanese and Soviet armies.

Another unit of Japanese in the adjacent building prevented a second Soviet squad from completing a flanking attack. 

The Battle of Mutanchiang: A 28mm Bolt Action wargame between the Imperial Japanese and Soviet armies.

Round 5:

Under the continued light of the flares, intense fighting raged on in the roadway, while a Soviet tank destroyer also arrived on the scene. 

The Battle of Mutanchiang: A 28mm Bolt Action wargame between the Imperial Japanese and Soviet armies.

Hand to hand combat broke out between the second Soviet and Japanese squads, with the Soviets eventually taking the upper hand and entering the building.

The Battle of Mutanchiang: A 28mm Bolt Action wargame between the Imperial Japanese and Soviet armies.

With the clock ticking, the first Soviet Sherman chose to bypass the ineffective Chi-Ha and brave the anti-tank ditch.  In their haste, the Japanese had not dug deep enough, and the Sherman successfully crossed it.  The tank also spotted the suicide anti-tank hunter hiding on the other side, and gunned him down before he could run in for the kill.

The Battle of Mutanchiang: A 28mm Bolt Action wargame between the Imperial Japanese and Soviet armies.

Defeating the Japanese on the street, the Soviet infantrymen made a run for their exit point while dodging shots from the ruins.

The Battle of Mutanchiang: A 28mm Bolt Action wargame between the Imperial Japanese and Soviet armies.

The second Soviet squad eliminated another suicide anti-tank hunter lurking behind a truck.

The Battle of Mutanchiang: A 28mm Bolt Action wargame between the Imperial Japanese and Soviet armies.

As the Soviet tanks prepared to exit through the breached Japanese defenses, another Japanese infantry squad and suicide anti-tank hunter exited the ruins to launch a flank attack.

The Battle of Mutanchiang: A 28mm Bolt Action wargame between the Imperial Japanese and Soviet armies.

Round 6:

Before the Soviets could react to the new threat, the tank hunter launched himself against the rear of the third Sherman, blowing the tank and himself to pieces. 

The Battle of Mutanchiang: A 28mm Bolt Action wargame between the Imperial Japanese and Soviet armies.

The surviving Sherman quickly dashed down the road before the other Japanese infantry could catch it. 

The Battle of Mutanchiang: A 28mm Bolt Action wargame between the Imperial Japanese and Soviet armies.

The Japanese infantry pivoted in their target, and instead went after the Soviet tank destroyer. Despite their banzai passion, the attack was ineffective against the tank destroyer's armor.  However, the tank destroyer chose to beat a hasty retreat.

The Battle of Mutanchiang: A 28mm Bolt Action wargame between the Imperial Japanese and Soviet armies.

With time almost out, the Katyusha tried to find an exit that would keep it away from the main battle.

The Battle of Mutanchiang: A 28mm Bolt Action wargame between the Imperial Japanese and Soviet armies.

The surviving Soviet infantry units quickly ran past the last of the Japanese defenses to their exit point.

The Battle of Mutanchiang: A 28mm Bolt Action wargame between the Imperial Japanese and Soviet armies.

At this stage, not enough Soviets had made it past the Japanese defenses for a victory, so Art's only hope was for the dice to give him an extension and get one more unit off the table. Would there be a ...

Round 7:

Yes.

The last of the Soviet Shermans was unwilling to risk crossing the minefield, so opened fire on the Japanese machine gun team.

The Battle of Mutanchiang: A 28mm Bolt Action wargame between the Imperial Japanese and Soviet armies.

With the tank destroyer too far away for a second attack, the Japanese launched an unsuccessful attack on the Sherman. The Soviet survivors of the burning truck managed to launch a counter attack on the Japanese infantry. 

The Battle of Mutanchiang: A 28mm Bolt Action wargame between the Imperial Japanese and Soviet armies.

Additional Japanese reinforcements arrived, but could nothing more than man the barricades again.

The Battle of Mutanchiang: A 28mm Bolt Action wargame between the Imperial Japanese and Soviet armies.

The tank destroyer and Katyusha were unsuccessful in exiting the battlefield.

And with that, the battle was over. Despite inflicting heavy casualties on the Japanese and moving several units past their defenses, the Soviets were still one unit short to declare victory.  The Japanese rearguard had held on long enough to get the bulk of their forces out of the city, and the war would continue.

The Battle of Mutanchiang: A 28mm Bolt Action wargame between the Imperial Japanese and Soviet armies.

Sunday, November 27, 2022

Bolt Action Burma: HQ Raid


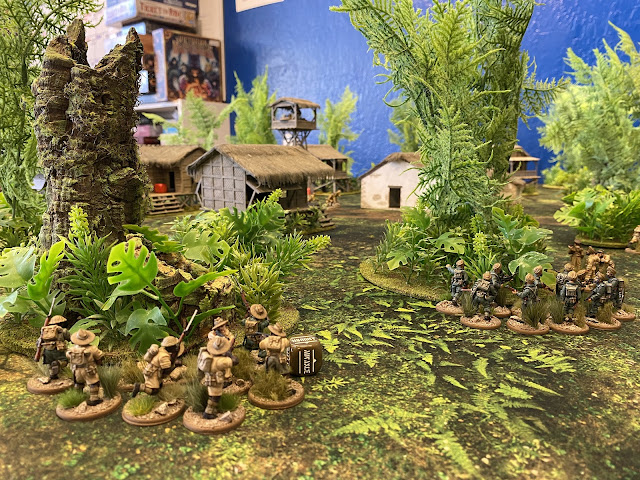
After a focus on modern gaming this past year, it was time to get back to a bit of WW2. My tropical British force had never been used in a game, so Art and I decided to unleash them against my Japanese at the local game shop.  

For this game, we played scenario 6, HQ raid, from the Empire in Flames book.  In this scenario, British infantry (no vehicles or heavy artillery allowed) trekked over the mountains and through the jungle to raid a Japanese camp behind the front lines.  Their goal was to kill the two command squads in the large HQ buildings, and also gather useful documents from each of these building. The Japanese garrison was mostly made up of less experienced troops, with reinforcements arriving from random directions over the course of the battle.

Figures were mostly Warlord, with some Assault Group, Artizan, and Trenchworx mixed in as well. Building were by Warbases, Sarissa, and 4Ground.
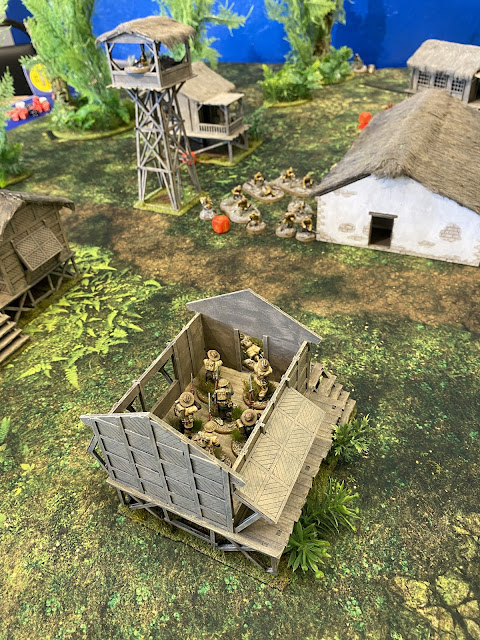
Round 1:

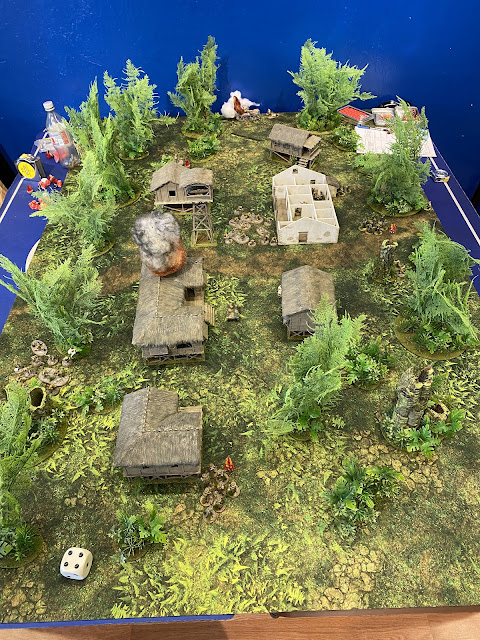
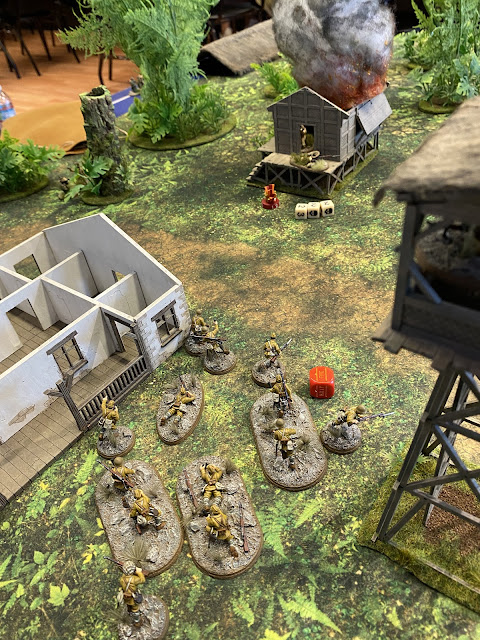
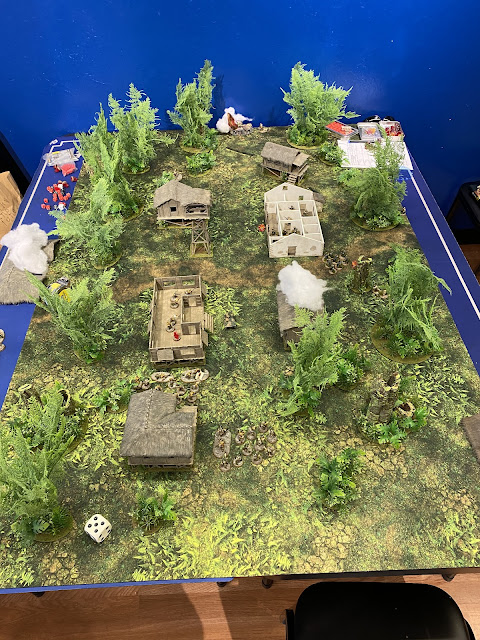
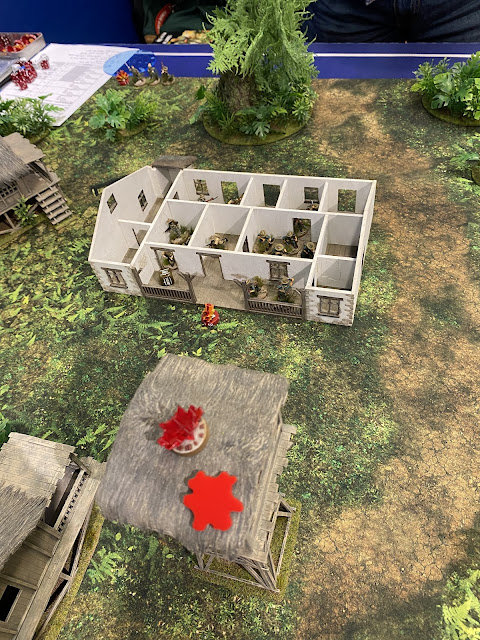
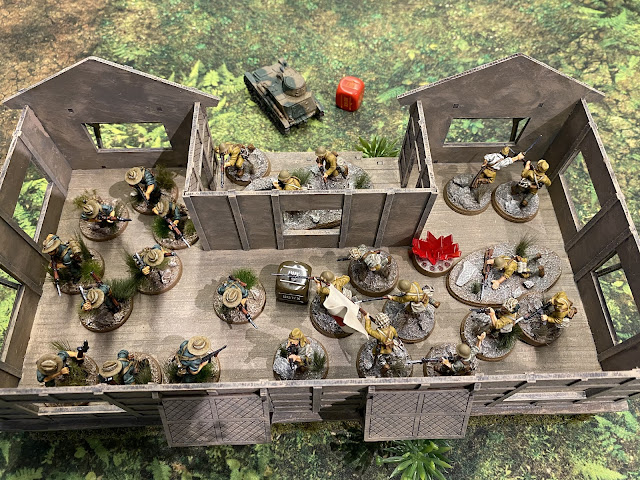
A lieutenant and his team manned the stucco HQ building, with a sniper watching from the tower. To his north, a MMG watched the center of the outpost, and an infantry squad was stationed in the northwest hut. A captain and a medical team were based in the thatched HQ building, with a grenadier squad out front.

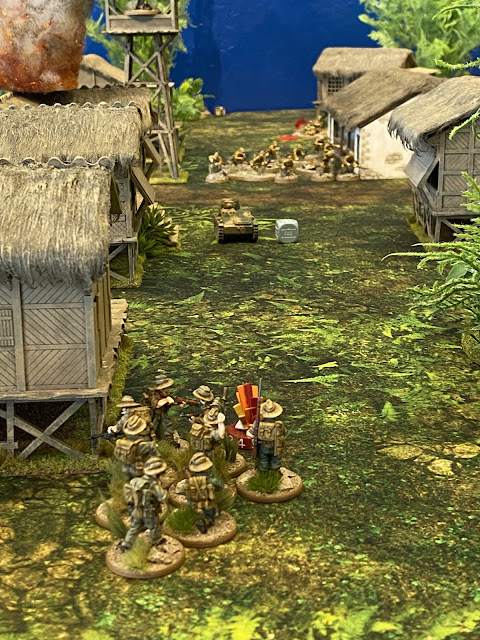
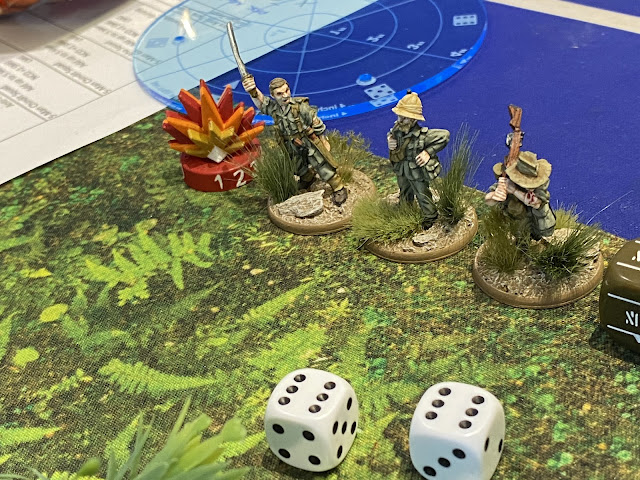
28mm Bolt Action WW2 Wargaming, Empire in  Flames book, Scenario 6.  British Commonwealth forces attack a Japanese HQ in Burma.

28mm Bolt Action WW2 Wargaming, Empire in  Flames book, Scenario 6.  British Commonwealth forces attack a Japanese HQ in Burma.

British forces silently slipped out of the jungle from the east and southeast. 

28mm Bolt Action WW2 Wargaming, Empire in  Flames book, Scenario 6.  British Commonwealth forces attack a Japanese HQ in Burma.

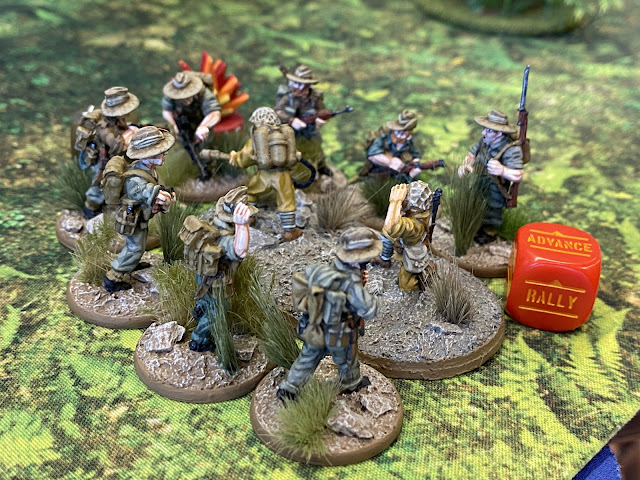
Suddenly, Bhanbhagta Gurung of the Gurkhas sprung from the underbrush and killed one of the machine gunners. 

28mm Bolt Action WW2 Wargaming, Empire in  Flames book, Scenario 6.  British Commonwealth forces attack a Japanese HQ in Burma.

Just a quickly, Gurung disappeared, but the Japanese sniper managed to target a British observer in the same area. The observer was pinned, but not killed.

28mm Bolt Action WW2 Wargaming, Empire in  Flames book, Scenario 6.  British Commonwealth forces attack a Japanese HQ in Burma.

The Japanese grenadier squad retreated to better cover, and were unsuccessful in targeting the Sikhs with their knee mortars. 

28mm Bolt Action WW2 Wargaming, Empire in  Flames book, Scenario 6.  British Commonwealth forces attack a Japanese HQ in Burma.

A squad of Chindits in the south ran for the cover of one of the outlying huts.

28mm Bolt Action WW2 Wargaming, Empire in  Flames book, Scenario 6.  British Commonwealth forces attack a Japanese HQ in Burma.

Round 2:

28mm Bolt Action WW2 Wargaming, Empire in  Flames book, Scenario 6.  British Commonwealth forces attack a Japanese HQ in Burma.

The forward observer called in a successful strike on the thatched HQ hut.  Given the scenario, Art and I used the stats for light mountain howitzers rather than the heavy artillery. The teams inside were pinned, but nobody was killed.

28mm Bolt Action WW2 Wargaming, Empire in  Flames book, Scenario 6.  British Commonwealth forces attack a Japanese HQ in Burma.

A squad of West Africans moved into the southeastern hut.

28mm Bolt Action WW2 Wargaming, Empire in  Flames book, Scenario 6.  British Commonwealth forces attack a Japanese HQ in Burma.

The British lieutenant positioned the Sikhs and another unit of West Africans for an assault on the stucco HQ building.

28mm Bolt Action WW2 Wargaming, Empire in  Flames book, Scenario 6.  British Commonwealth forces attack a Japanese HQ in Burma.

In the south, the Chindits were surprised by an arriving flamethrower team. They were pinned, but the flames failed to injury anyone, and the Japanese soldier was out of fuel after the attack.

28mm Bolt Action WW2 Wargaming, Empire in  Flames book, Scenario 6.  British Commonwealth forces attack a Japanese HQ in Burma.

They quickly eliminated the flamethrower team.

28mm Bolt Action WW2 Wargaming, Empire in  Flames book, Scenario 6.  British Commonwealth forces attack a Japanese HQ in Burma.

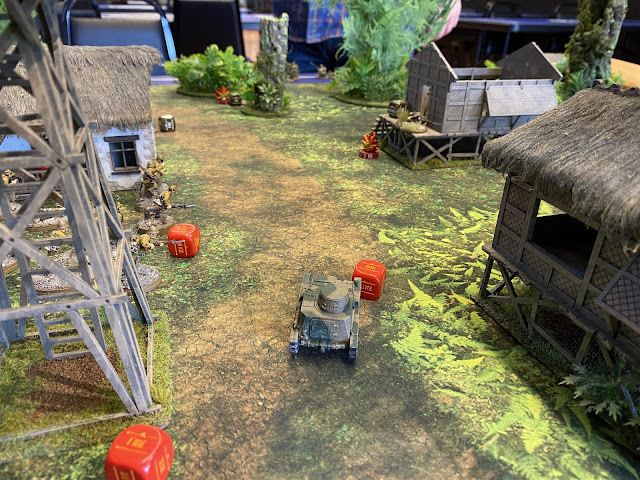
A Japanese tankette arrived from the west, and pinned the Africans in the hut.

28mm Bolt Action WW2 Wargaming, Empire in  Flames book, Scenario 6.  British Commonwealth forces attack a Japanese HQ in Burma.

Round 3 (we forgot to flip the die):

28mm Bolt Action WW2 Wargaming, Empire in  Flames book, Scenario 6.  British Commonwealth forces attack a Japanese HQ in Burma.

The Japanese tankette began an attack on the Chindits.

28mm Bolt Action WW2 Wargaming, Empire in  Flames book, Scenario 6.  British Commonwealth forces attack a Japanese HQ in Burma.

To the north, the Japanese MMG team rolled a FUBAR and retreated away from the Gurkhas. 

28mm Bolt Action WW2 Wargaming, Empire in  Flames book, Scenario 6.  British Commonwealth forces attack a Japanese HQ in Burma.

Orde Wingate arrived from the east just in time to oversee the building assault.

28mm Bolt Action WW2 Wargaming, Empire in  Flames book, Scenario 6.  British Commonwealth forces attack a Japanese HQ in Burma.

The Sikhs stormed the building, killing the Japanese lieutenant and his team, and capturing critical documents. They then retreated and the West Africans and Gurkhas took up positions inside.

28mm Bolt Action WW2 Wargaming, Empire in  Flames book, Scenario 6.  British Commonwealth forces attack a Japanese HQ in Burma.

28mm Bolt Action WW2 Wargaming, Empire in  Flames book, Scenario 6.  British Commonwealth forces attack a Japanese HQ in Burma.

Form the north, a Japanese tank arrived and eliminated a British sniper that had been harassing the garrison. Unfortunately, they were surprised by a British Boys anti-tank team who made a critical hit through the rear armor.

28mm Bolt Action WW2 Wargaming, Empire in  Flames book, Scenario 6.  British Commonwealth forces attack a Japanese HQ in Burma.

28mm Bolt Action WW2 Wargaming, Empire in  Flames book, Scenario 6.  British Commonwealth forces attack a Japanese HQ in Burma.

The Japanese infantry squad left their hut and charged the HQ building, but were eliminated by the West Africans.

28mm Bolt Action WW2 Wargaming, Empire in  Flames book, Scenario 6.  British Commonwealth forces attack a Japanese HQ in Burma.

Round 4:

28mm Bolt Action WW2 Wargaming, Empire in  Flames book, Scenario 6.  British Commonwealth forces attack a Japanese HQ in Burma.

The grenadier squad successfully targeted the West Africans in the hut, and the few survivors of the attack fled the battlefield. 

28mm Bolt Action WW2 Wargaming, Empire in  Flames book, Scenario 6.  British Commonwealth forces attack a Japanese HQ in Burma.

Gurung and the rest of Gurkhas avenged their comrades, hacking apart the Japanese grenadiers. 

28mm Bolt Action WW2 Wargaming, Empire in  Flames book, Scenario 6.  British Commonwealth forces attack a Japanese HQ in Burma.

The surviving Japanese command team and medical group did their best to keep the Sikhs pinned. 

28mm Bolt Action WW2 Wargaming, Empire in  Flames book, Scenario 6.  British Commonwealth forces attack a Japanese HQ in Burma.

However, the Sikhs fought back and picked off the Japanese captain.

28mm Bolt Action WW2 Wargaming, Empire in  Flames book, Scenario 6.  British Commonwealth forces attack a Japanese HQ in Burma.

After coming under sniper fire, Wingate and his team rolled a FUBAR and ran from cover to the edge of the table. This was a bad omen for the British.

28mm Bolt Action WW2 Wargaming, Empire in  Flames book, Scenario 6.  British Commonwealth forces attack a Japanese HQ in Burma.

A veteran squad of Japanese reinforced from the south and eliminated the Chindits.

28mm Bolt Action WW2 Wargaming, Empire in  Flames book, Scenario 6.  British Commonwealth forces attack a Japanese HQ in Burma.

The veterans and another arriving squad of regular Japanese then moved into the camp. 

28mm Bolt Action WW2 Wargaming, Empire in  Flames book, Scenario 6.  British Commonwealth forces attack a Japanese HQ in Burma.

Round 5:

28mm Bolt Action WW2 Wargaming, Empire in  Flames book, Scenario 6.  British Commonwealth forces attack a Japanese HQ in Burma.

The Japanese tankette fired on the Sikhs, killing two members of the squad. The survivors took cover in the hut previously occupied by the West Africans, but were soon killed by an assault from the Japanese veterans.

28mm Bolt Action WW2 Wargaming, Empire in  Flames book, Scenario 6.  British Commonwealth forces attack a Japanese HQ in Burma.

28mm Bolt Action WW2 Wargaming, Empire in  Flames book, Scenario 6.  British Commonwealth forces attack a Japanese HQ in Burma.

The other West African squad in the stucco building provided covering fire, wounding the sniper team in the tower. 

28mm Bolt Action WW2 Wargaming, Empire in  Flames book, Scenario 6.  British Commonwealth forces attack a Japanese HQ in Burma.

With the sniper team occupied, the Gurkhas charged out and assaulted the thatched HQ building, killing the medical team and gathering additional documents.

28mm Bolt Action WW2 Wargaming, Empire in  Flames book, Scenario 6.  British Commonwealth forces attack a Japanese HQ in Burma.

A Japanese infantry squad joined the survivors of the command team and launched a successful counterattack against the Gurkhas.

28mm Bolt Action WW2 Wargaming, Empire in  Flames book, Scenario 6.  British Commonwealth forces attack a Japanese HQ in Burma.

Another Japanese infantry squad arrived from the east, ambushing Wingate's team and also killing the forward observer. 

28mm Bolt Action WW2 Wargaming, Empire in  Flames book, Scenario 6.  British Commonwealth forces attack a Japanese HQ in Burma.

Round 6:

28mm Bolt Action WW2 Wargaming, Empire in  Flames book, Scenario 6.  British Commonwealth forces attack a Japanese HQ in Burma.

The Japanese veterans continued their rampage, eliminating another arriving team of Chindits (reduced in strength by heat exhaustion) and also the surviving British command team.

28mm Bolt Action WW2 Wargaming, Empire in  Flames book, Scenario 6.  British Commonwealth forces attack a Japanese HQ in Burma.

The West Africans launched an unsuccessful assault against the tankette. 

28mm Bolt Action WW2 Wargaming, Empire in  Flames book, Scenario 6.  British Commonwealth forces attack a Japanese HQ in Burma.

Japanese infantry overran the building, killing the remaining West Africans and a supporting medical team.

28mm Bolt Action WW2 Wargaming, Empire in  Flames book, Scenario 6.  British Commonwealth forces attack a Japanese HQ in Burma.

Round 7:

28mm Bolt Action WW2 Wargaming, Empire in  Flames book, Scenario 6.  British Commonwealth forces attack a Japanese HQ in Burma.

The tankette eliminated the British anti-tank team and with that, the Japanese were back in control of the camp.

28mm Bolt Action WW2 Wargaming, Empire in  Flames book, Scenario 6.  British Commonwealth forces attack a Japanese HQ in Burma.

For the first half of the game, it looked like Art's British were going to roll through the Japanese camp and make quick work of things. My regulars were no match for his veterans and specialist troops. But the new army curse struck again, and after Wingate's FUBAR roll, it was downhill for the British. My Japanese had a lot of luck with the random spawn points for reinforcements in the second half, and I was able to effectively throw bodies against his depleted squads and vulnerable command teams on the edge of the table. Though he completed three of the four objectives, his troop loss was enough to secure me enough victory points for a win.