Round 1:
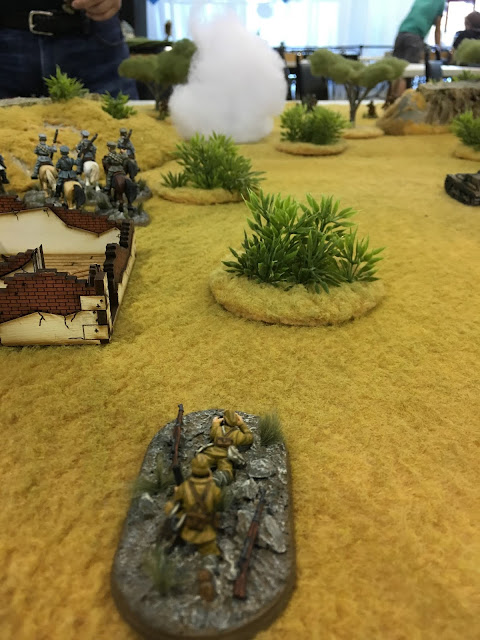
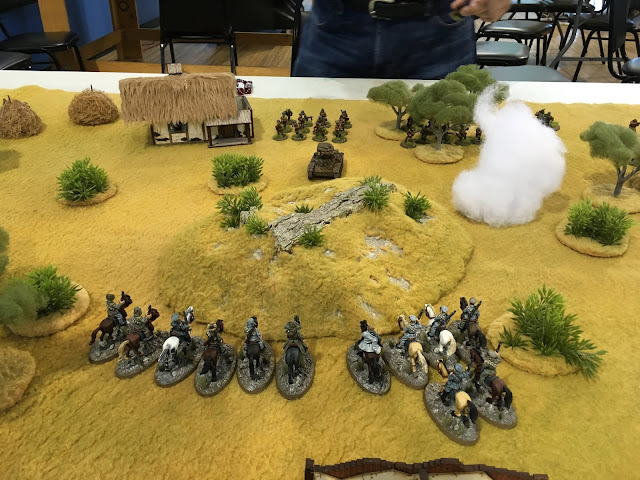
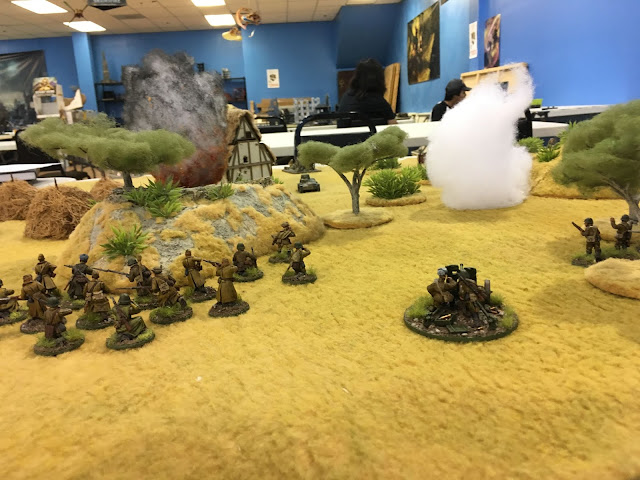
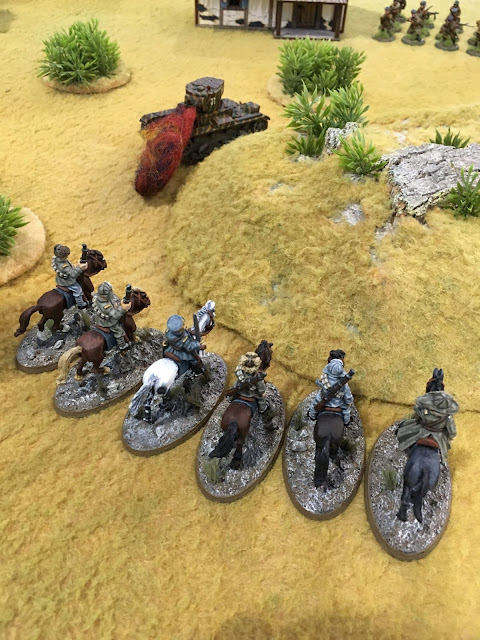
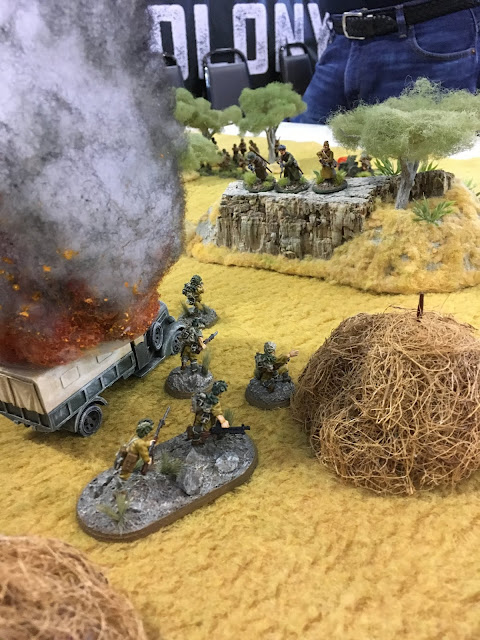
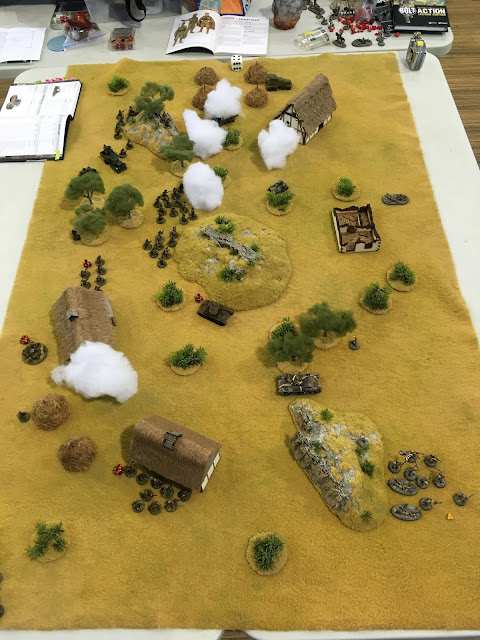
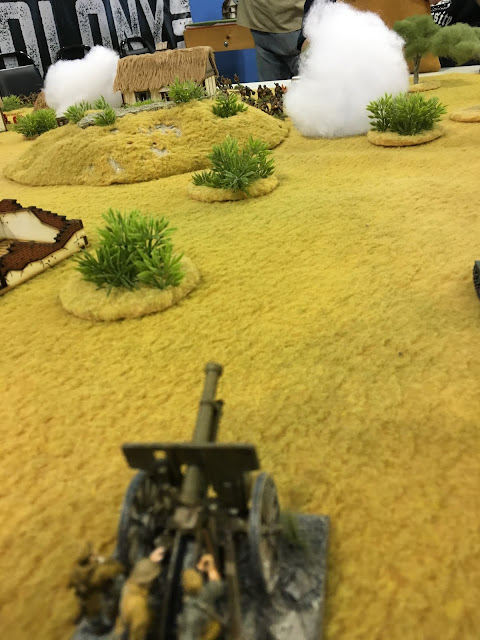
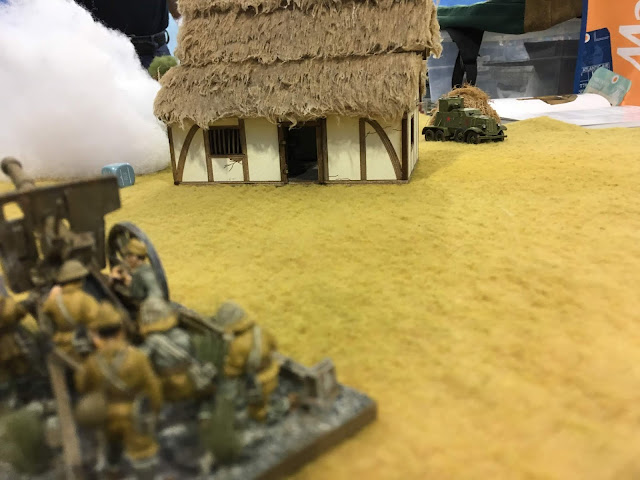
The Japanese mortar team opens with a smoke barrage to cover the two Manchukuoan cavalry squads advancing to the middle hill, while the Soviet flamethrower tank moves into position to launch a counter attack.
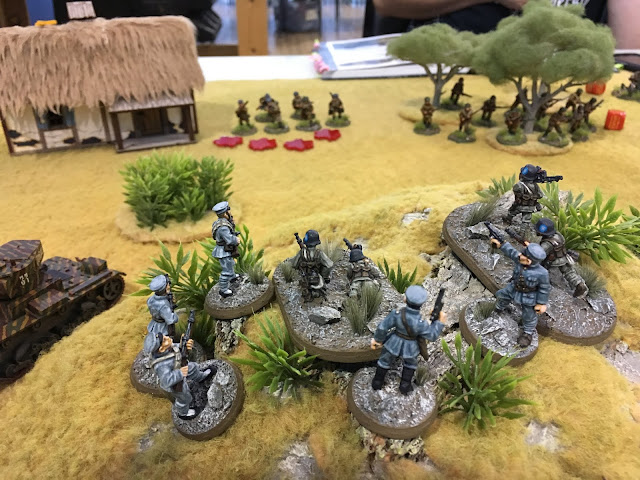
At the southern hill, a veteran IJA infantry squad and their lieutenant move to seize the high ground. The Chi-Ha tank attempts to engage the Soviet tank, but fails to hit its target.
The Soviets begin a counter push on both the northern and southern hills.
Round 2:
The wind has dissipated the smoke screen and before the Japanese mortar team can launch more, Soviet artillery inflicts heavy damage to one of the cavalry units.
The Chi-Ha again misses the Soviet tank, allowing it to attempt to flame the other cavalry unit. Luckily the Soviets suffer from poor aim as well. The cavalry dismount and set up light machine guns on the middle hill, firing on the advancing Soviet infantry.
Soviet infantry seizes the northern hill and pick off more of the IJA infantry. The Japanese attempt to assault the BA-6, but fail and are eliminated.
The Japanese have better luck on the southern hill, taking it unopposed and inflicting casualties on the Soviet infantry.
Round 3:
Japanese air support arrives in the form of a Ki-10. The Soviet anti-aircraft guns are too far away to be effective, allowing the plane to bomb a house full of infantry and pin other Soviets units in the area.
The Soviets call in an artillery barrage against the Japanese tank and infantry on the southern hill, but it fails to do any damage.
The Chi-Ha again tries to destroy the Soviet tank without luck, allowing the flamethrower tank to launch a successful attack on the Manchukuos.
The Soviets continue to pound the middle hill, but fail to dislodge the surviving cavalry troops.
The Japanese mortar team renews its smoke barrage in an attempt to conceal the Manchukuos from the Soviets.
On the southern hill, the lieutenant's orders go FUBAR, and the infantry unit mistakenly abandons the hilltop.
Things are going from bad to worse for the Japanese this round. Soviet infantry finally manage to eliminate the cavalry from the middle hill, and rush to claim it for their own.
The Japanese artillery and a Type 94 tankette counter attack, but cannot slow the Soviet advance on the hill.
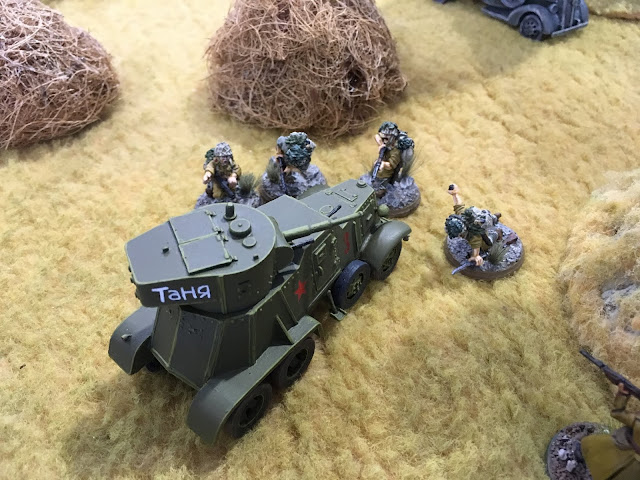
Preoccupied with the Soviet infantry, the Japanese artillery fail to notice the BA-6 moving in on their flank and pay for it with their lives.
On the southern hill, the Japanese lieutenant holds it alone and screams at his disorganized troops to return to the hilltop.
Round 5:
The Chi-Ha crew fails in their final attempt to destroy the flamethrower tank and are burned to a crisp.
The BA-6 stalks the mortar team, but is unsuccessful in getting a kill.
Soviet infantry attempt to assault the tankette, but are repelled and retreat up the hill, joining their comrades advancing from the other side.
The Japanese retake the southern hill and begin exchanging gunfire with the Soviet troops.
Round 6:
The IJA mortar launches its last round at the Soviets on the middle hill, before the armored car finishes them off.
The tankette also launches a last attack on the Soviet infantry, dislodging one of two squads from the hill.
The flamethrower tank approaches the last Japanese infantry squad and sends them to a hellish end.
Despite the brutal loss, it was quite a fun game. The Japanese did fairly well for the first half, controlling 2 of the 3 hills, but I think the inability of the Chi-Ha crew to score a hit and eliminate the flamethrower tank spelled the death knell for the IJA. Hopefully I'll have some better dice rolls next game.












Wonderful! A brutal encounter, but it looked sensational.
ReplyDeleteVery nice- it is inspiring stuff.
ReplyDeleteCheers,
Pete.
Fantastic! Beautiful minis, vehicles and terrain!
ReplyDeleteVery attractive looking game. Figures and scenery look fantastic, and your description of the action was very clear.
ReplyDeleteStupid flame tank... ;)
Thanks Everyone! Yeah, Art's flame tank was definitely king of the table that night.
ReplyDeletegreat looking game! Really like the somewhat unusual setting.
ReplyDeleteAwesome battle report and great photos. Thanks for many inspirations :)
ReplyDelete