Monday, July 23, 2018

Battle Damaged Hutong Shops in 28mm

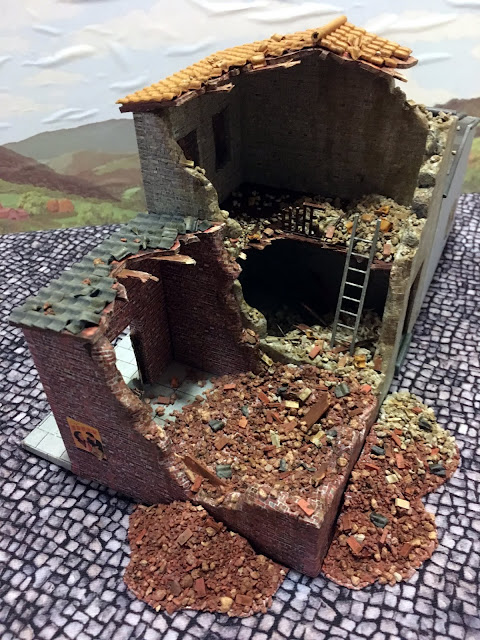
My hutong project is slowly trundling forward, with the addition of a damaged block inspired by the Battle of Shanghai.

28mm Chinese Buildings for Warlord Era and WW2


I hadn't attempted battle damaged buildings before, so I decided it was best to start with a half size block in case it all went sideways as I figured out how to approach it. As such, this is just a straight row of three buildings, with two of them having suffered an artillery blast to the rear.

28mm Chinese Buildings for Warlord Era and WW2

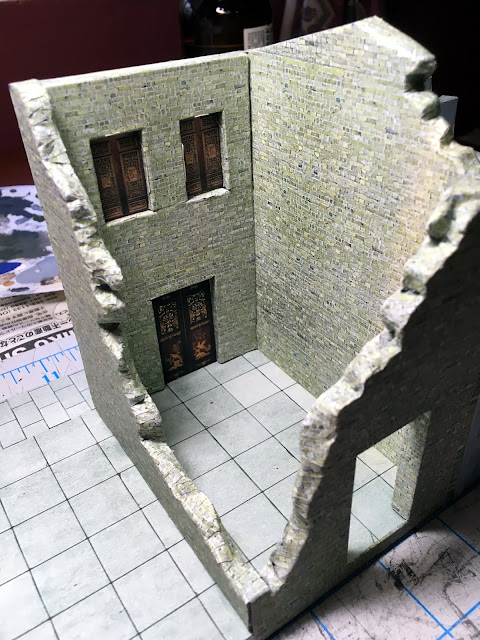
As with the previous builds, the buildings were created by wrapping texture paper around high density hobby foam. For the damaged edges, I cut the foam at rough, irregular angles, then painted them an appropriate base color. The brick patterned paper was cut into fingers, for lack of a better term, and wrapped over the edges using white household glue instead of glue sticks. I chose white glue for the higher water content, which allowed the paper to soften and warp so it better shaped over the edges. I used this finger technique on both sides of the walls, allowing the paper to overlap and hide as much of the foam as possible.

28mm Chinese Buildings for Warlord Era and WW2

28mm Chinese Buildings for Warlord Era and WW2

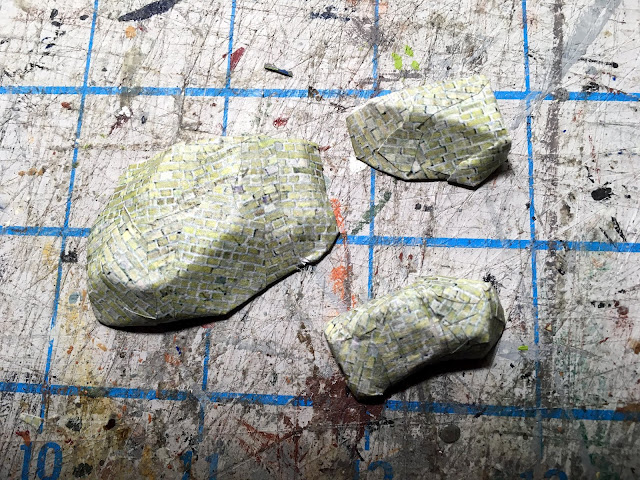
To create the rubble piles, I started with bits of scrap foam and used the same paper application system I used on the walls. The only major difference is I cut the brick paper into small, irregular shapes and applied them at odd angles to keep from getting a uniform brick pattern.  These were then glued into place. 

28mm Chinese Buildings for Warlord Era and WW2

28mm Chinese Buildings for Warlord Era and WW2

Atop the rubble bases, I applied a debris mixture of small rock obtained from the model train shop and 1:48 bricks produced by Juweela. To help with the blending of the materials and the paper texture, everything was given a wash with diluted paint of an appropriate color. The rubble bases were then given a thick coat of white glue and the debris sprinkled over the top. After this dried, a coating of Woodland Scenics' scenic cement was added for additional durability.


As before, I used appropriate looking advertising and signage to give it a period feel.

28mm Chinese Buildings for Warlord Era and WW2

This is a Chinese herbal pharmacy using elements I photographed at the Hong Kong Museum of History.

28mm Chinese Buildings for Warlord Era and WW2

A restaurant sign from one of the older neighborhoods in Kowloon.

28mm Chinese Buildings for Warlord Era and WW2

Trying to get the damaged roofs looking irregular was one of the more challenging aspects for me. The base was thick card that needed to be cut with an X-acto blade, so it was difficult to create broken looking edges. To help hide this, I covered both the top and bottom with a printout of a roof underside, trimmed the tiles irregularly with some out of alignment, and glued broken coffee stirrers where beams would be. The edges were dry brushed with a warm tan to approximate raw wood, and everything was washed with Secret Weapon dark sepia to give it a bit of a scorched look.

28mm Chinese Buildings for Warlord Era and WW2

Here are some better views of the rear so you can see the extent of the damage. To give a little more color pop to the rubble piles, I also included some broken tile and wood bits in addition to rock and bricks. 

28mm Chinese Buildings for Warlord Era and WW2

I wanted access to the upper level, so added a section of ladder cut from Plastruct O Scale ABS Ladder.

28mm Chinese Buildings for Warlord Era and WW2

For a more authentic look, I felt the rubble needed to spill out of the buildings and onto the streets. However, I was worried about the rubble breaking off during storage and transport, and also wanted the flexibility to remove the rubble to allow the buildings to sit against another block. As such, I made independent piles that could be pushed up against the walls and stored inside the pharmacy when not in use. They ended up not being perfectly flush with the walls, but I think they still look good overall. 


This first test build came out better than I expected, so I'm feeling a bit more comfortable attempting ruins. My next goal for the project will be to complete a sandbag bunker in a damaged building. We'll see how it goes.


Monday, July 9, 2018

Khalkhin Gol: Japanese vs. Soviets

I've been playing a lot of Bolt Action as of late, and my buddy Art and I thought it would be fun to pit his Soviets against my IJA force using one of the the Khalkhin Gol scenarios from the Ostfront book.  For this game, the object is to control the hills on the table (3 points per hill) and eliminate opposing units (1 point per destroyed unit).

Round 1:


Bolt Action Khalkhin Gol: Japanese vs. Soviets

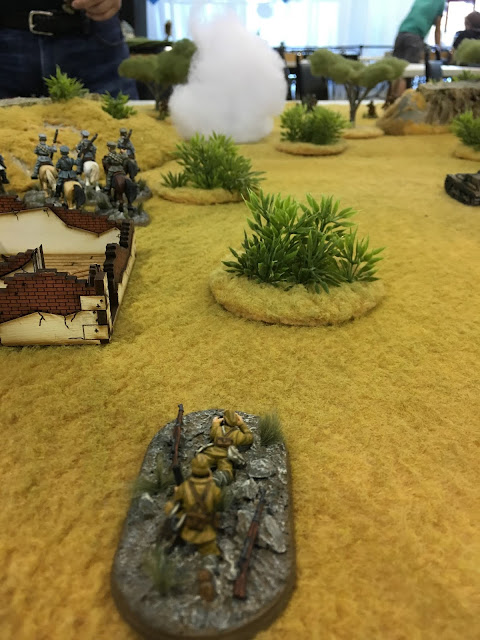
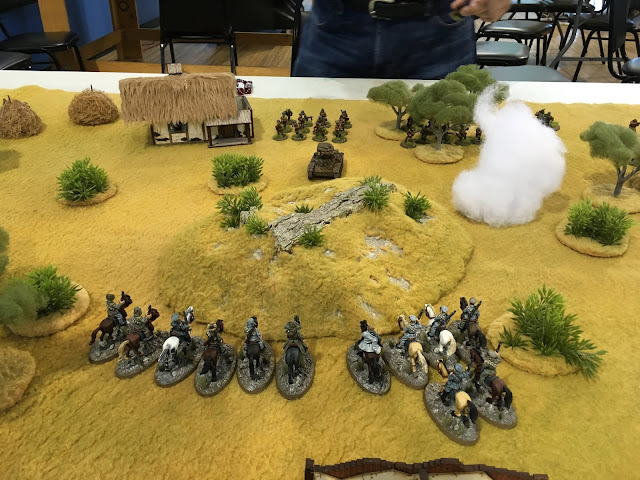
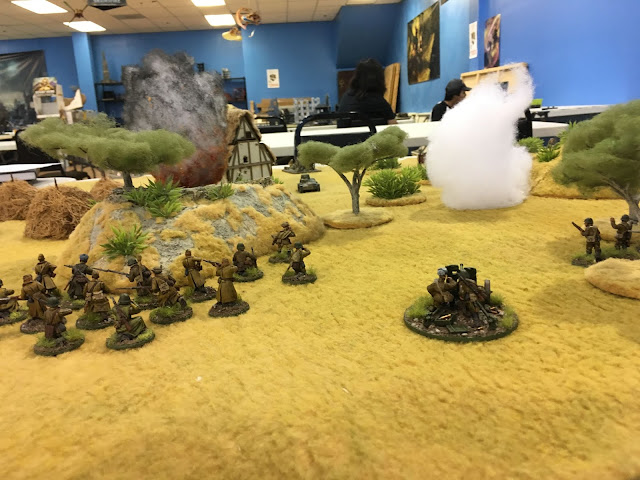
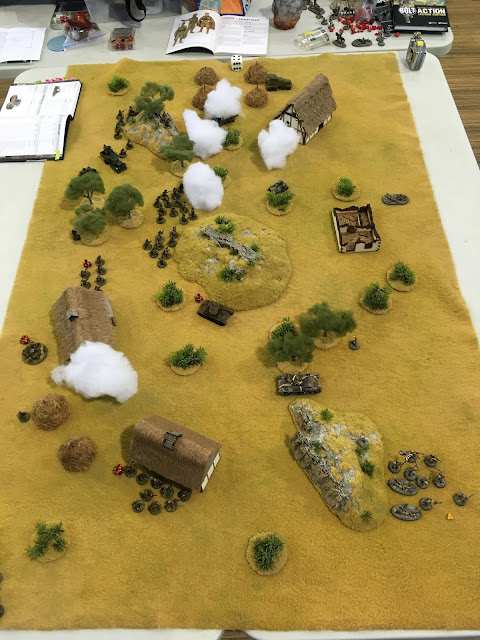
The Japanese mortar team opens with a smoke barrage to cover the two Manchukuoan cavalry squads advancing to the middle hill, while the Soviet flamethrower tank moves into position to launch a counter attack.

Bolt Action Khalkhin Gol: Japanese vs. Soviets

Bolt Action Khalkhin Gol: Japanese vs. Soviets

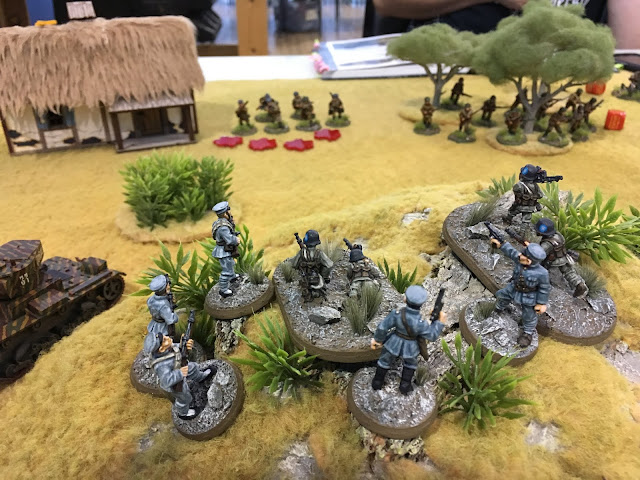
At the southern hill, a veteran IJA infantry squad and their lieutenant move to seize the high ground.  The Chi-Ha tank attempts to engage the Soviet tank, but fails to hit its target.

Bolt Action Khalkhin Gol: Japanese vs. Soviets

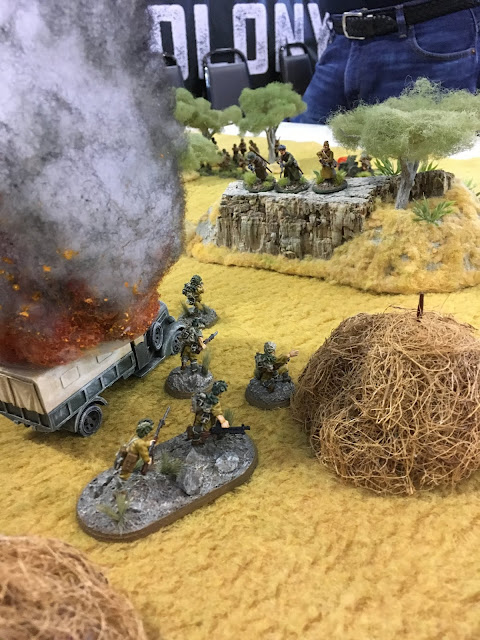
Disaster strikes the Japanese at the northern hill when the Soviet BA-6 destroys their transport, and the quad Maxims starts mowing down the surviving infantry.

Bolt Action Khalkhin Gol: Japanese vs. Soviets

The Soviets begin a counter push on both the northern and southern hills.

Bolt Action Khalkhin Gol: Japanese vs. Soviets

Bolt Action Khalkhin Gol: Japanese vs. Soviets

Round 2:


Bolt Action Khalkhin Gol: Japanese vs. Soviets

The wind has dissipated the smoke screen and before the Japanese mortar team can launch more, Soviet artillery inflicts heavy damage to one of the cavalry units.

Bolt Action Khalkhin Gol: Japanese vs. Soviets

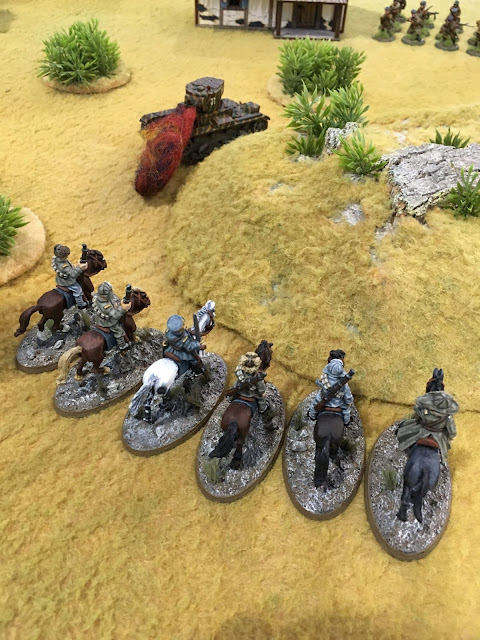
The Chi-Ha again misses the Soviet tank, allowing it to attempt to flame the other cavalry unit. Luckily the Soviets suffer from poor aim as well. The cavalry dismount and set up light machine guns on the middle hill, firing on the advancing Soviet infantry.

Bolt Action Khalkhin Gol: Japanese vs. Soviets


Bolt Action Khalkhin Gol: Japanese vs. Soviets

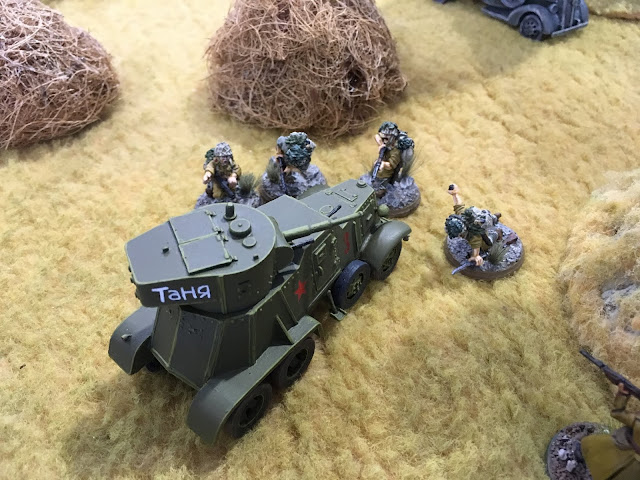
Soviet infantry seizes the northern hill and pick off more of the IJA infantry. The Japanese attempt to assault the BA-6, but fail and are eliminated.

Bolt Action Khalkhin Gol: Japanese vs. Soviets

Bolt Action Khalkhin Gol: Japanese vs. Soviets

The Japanese have better luck on the southern hill, taking it unopposed and inflicting casualties on the Soviet infantry.

Bolt Action Khalkhin Gol: Japanese vs. Soviets

Round 3:


Bolt Action Khalkhin Gol: Japanese vs. Soviets

Japanese air support arrives in the form of a Ki-10. The Soviet anti-aircraft guns are too far away to be effective, allowing the plane to bomb a house full of infantry and pin other Soviets units in the area.

Bolt Action Khalkhin Gol: Japanese vs. Soviets

Bolt Action Khalkhin Gol: Japanese vs. Soviets

The Soviets call in an artillery barrage against the Japanese tank and infantry on the southern hill, but it fails to do any damage.


Bolt Action Khalkhin Gol: Japanese vs. Soviets

The Chi-Ha again tries to destroy the Soviet tank without luck, allowing the flamethrower tank to launch a successful attack on the Manchukuos.

Bolt Action Khalkhin Gol: Japanese vs. Soviets

Bolt Action Khalkhin Gol: Japanese vs. Soviets

The Soviets continue to pound the middle hill, but fail to dislodge the surviving cavalry troops.

Bolt Action Khalkhin Gol: Japanese vs. Soviets

The Japanese mortar team renews its smoke barrage in an attempt to conceal the Manchukuos from the Soviets.

Bolt Action Khalkhin Gol: Japanese vs. Soviets

On the southern hill, the lieutenant's orders go FUBAR, and the infantry unit mistakenly abandons the hilltop. 

Bolt Action Khalkhin Gol: Japanese vs. Soviets

Round 4:

Bolt Action Khalkhin Gol: Japanese vs. Soviets

Things are going from bad to worse for the Japanese this round. Soviet infantry finally manage to eliminate the cavalry from the middle hill, and rush to claim it for their own.

Bolt Action Khalkhin Gol: Japanese vs. Soviets

Bolt Action Khalkhin Gol: Japanese vs. Soviets

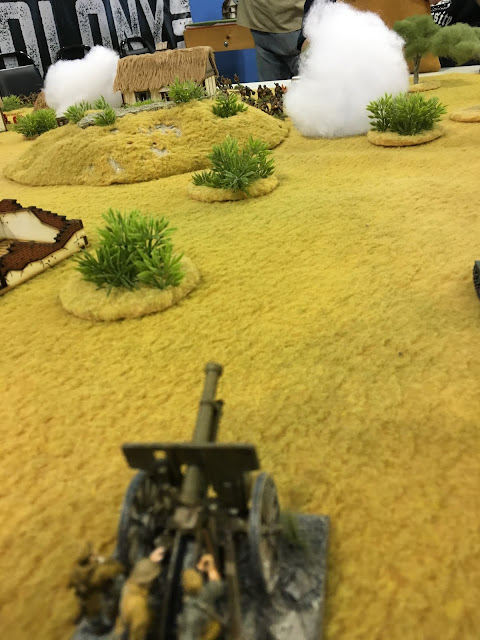
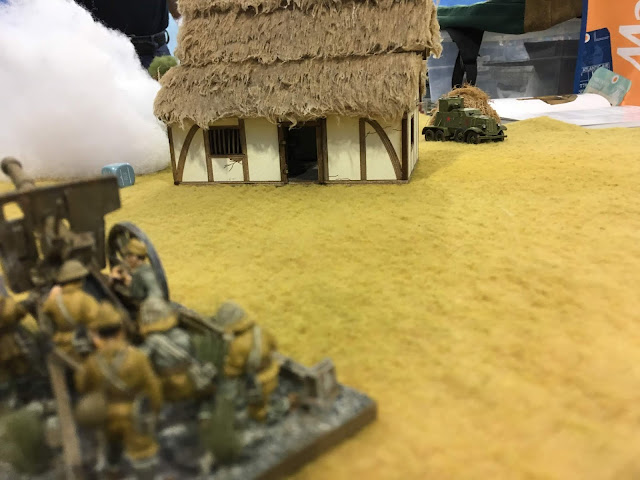
The Japanese artillery and a Type 94 tankette counter attack, but cannot slow the Soviet advance on the hill.

Bolt Action Khalkhin Gol: Japanese vs. Soviets

Bolt Action Khalkhin Gol: Japanese vs. Soviets

Preoccupied with the Soviet infantry, the Japanese artillery fail to notice the BA-6 moving in on their flank and pay for it with their lives.

Bolt Action Khalkhin Gol: Japanese vs. Soviets

Bolt Action Khalkhin Gol: Japanese vs. Soviets
On the southern hill, the Japanese lieutenant holds it alone and screams at his disorganized troops to return to the hilltop.

Bolt Action Khalkhin Gol: Japanese vs. Soviets

Round 5:

Bolt Action Khalkhin Gol: Japanese vs. Soviets

The Chi-Ha crew fails in their final attempt to destroy the flamethrower tank and are burned to a crisp.

Bolt Action Khalkhin Gol: Japanese vs. Soviets

The BA-6 stalks the mortar team, but is unsuccessful in getting a kill.

Bolt Action Khalkhin Gol: Japanese vs. Soviets

Soviet infantry attempt to assault the tankette, but are repelled and retreat up the hill, joining their comrades advancing from the other side. 

Bolt Action Khalkhin Gol: Japanese vs. Soviets

Bolt Action Khalkhin Gol: Japanese vs. Soviets

The Japanese retake the southern hill and begin exchanging gunfire with the Soviet troops.

Bolt Action Khalkhin Gol: Japanese vs. Soviets

Bolt Action Khalkhin Gol: Japanese vs. Soviets

Round 6:


Bolt Action Khalkhin Gol: Japanese vs. Soviets

The IJA mortar launches its last round at the Soviets on the middle hill, before the armored car finishes them off.

Bolt Action Khalkhin Gol: Japanese vs. Soviets

The tankette also launches a last attack on the Soviet infantry, dislodging one of two squads from the hill.

Bolt Action Khalkhin Gol: Japanese vs. Soviets

The flamethrower tank approaches the last Japanese infantry squad and sends them to a hellish end.

Bolt Action Khalkhin Gol: Japanese vs. Soviets

Bolt Action Khalkhin Gol: Japanese vs. Soviets

Despite the brutal loss, it was quite a fun game. The Japanese did fairly well for the first half, controlling 2 of the 3 hills, but I think the inability of the Chi-Ha crew to score a hit and eliminate the flamethrower tank spelled the death knell for the IJA.  Hopefully I'll have some better dice rolls next game.