 |
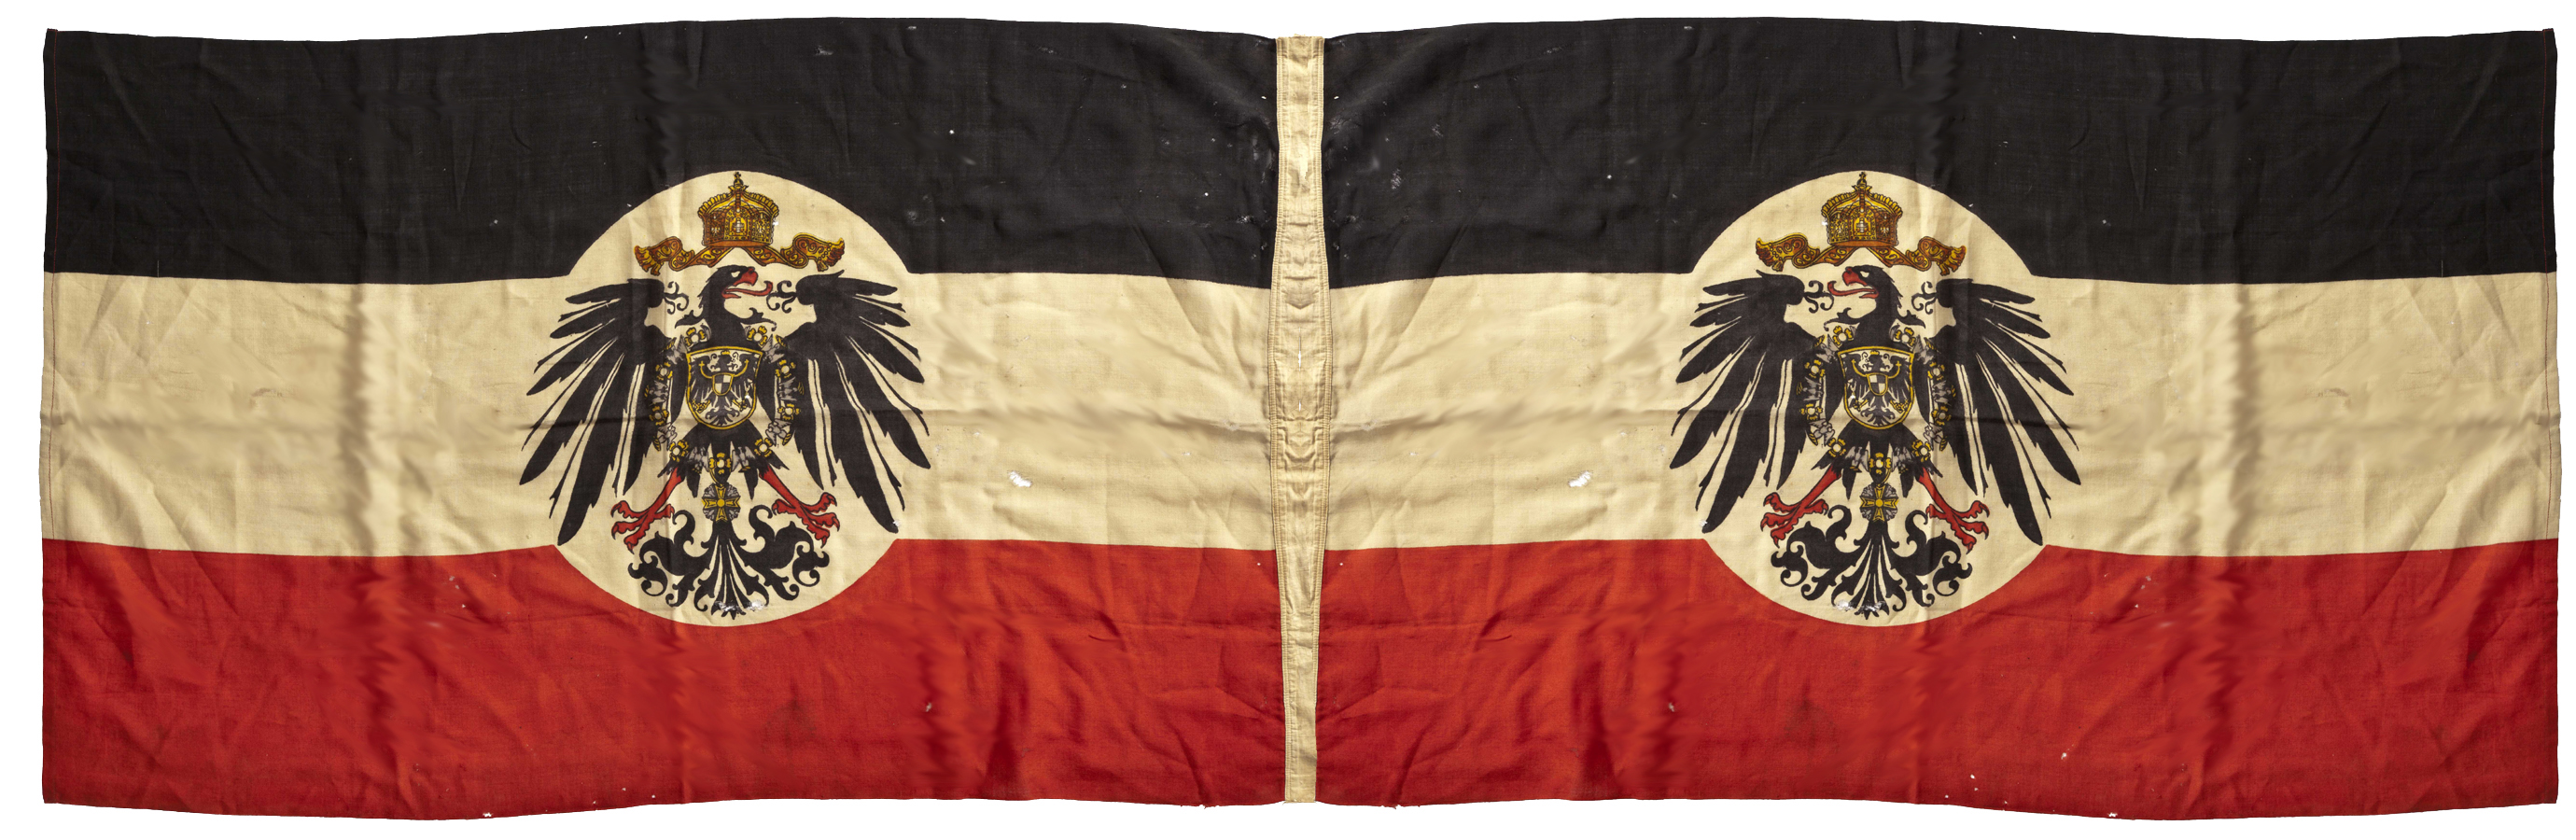
| Flicker |

The flagpole itself was made from a hollow plastic rod from the local train store. It has a bit of give to it, which should help to prevent snapping if it catches on something. This was glued onto a wooden base to help with stability. The hardware detailing on the flagpole was made from a small safety pin and a straight pin with a spherical cap.

To make the loop at the top of the pole, I snipped off the circular spring of the safety pin, making sure to leave bit of the wire protruding off the ends. Small holes were drilled into the rod to fit them, and the spring was secured with superglue.The straight pin was inserted into the hole at the end of the rod and also superglued into place.

To secure the flag's cords at the base of the pole, I used the head of the safety pin, filing down the catch in the middle and squeezing the outer cover flatter. Another hole was drilled into the pole for this, and the assembly was superglued in place. While working on this, I discovered the pole wasn't as secure in the base as I hoped, so additional side supports were built out of wood and glued on. "Bolts" for these supports were created from small drops of wood glue.

The flag was removed for the painting of the flagpole and texturing of the base, then reattached (after treating the wire with drab paint to remove the shine) with the wires sealed into place with more superglue. Once the weather improved is will be sealed with matte spray varnish and will be ready for the parade ground.

Now that's a proper flagpole!
ReplyDeleteVery impressive ! ,Tony
ReplyDeleteI love it!
ReplyDeleteAmazing! Its the attention to the little details in this project that really make it stand out.
ReplyDeleteI am very grateful to you for providing the link to your flag on Flickr. My Deutsch-Südwestafrika garrison will be the grateful beneficiary.
ReplyDeleteStunning work! The flag looks great and will be a great eyecatcher on your table... next to alltheother stuff.
ReplyDeleteThanks Guys! Glad to know others can find a use for the flag as well.
ReplyDeleteA great job, very impressive, this flag is amazing!
ReplyDelete