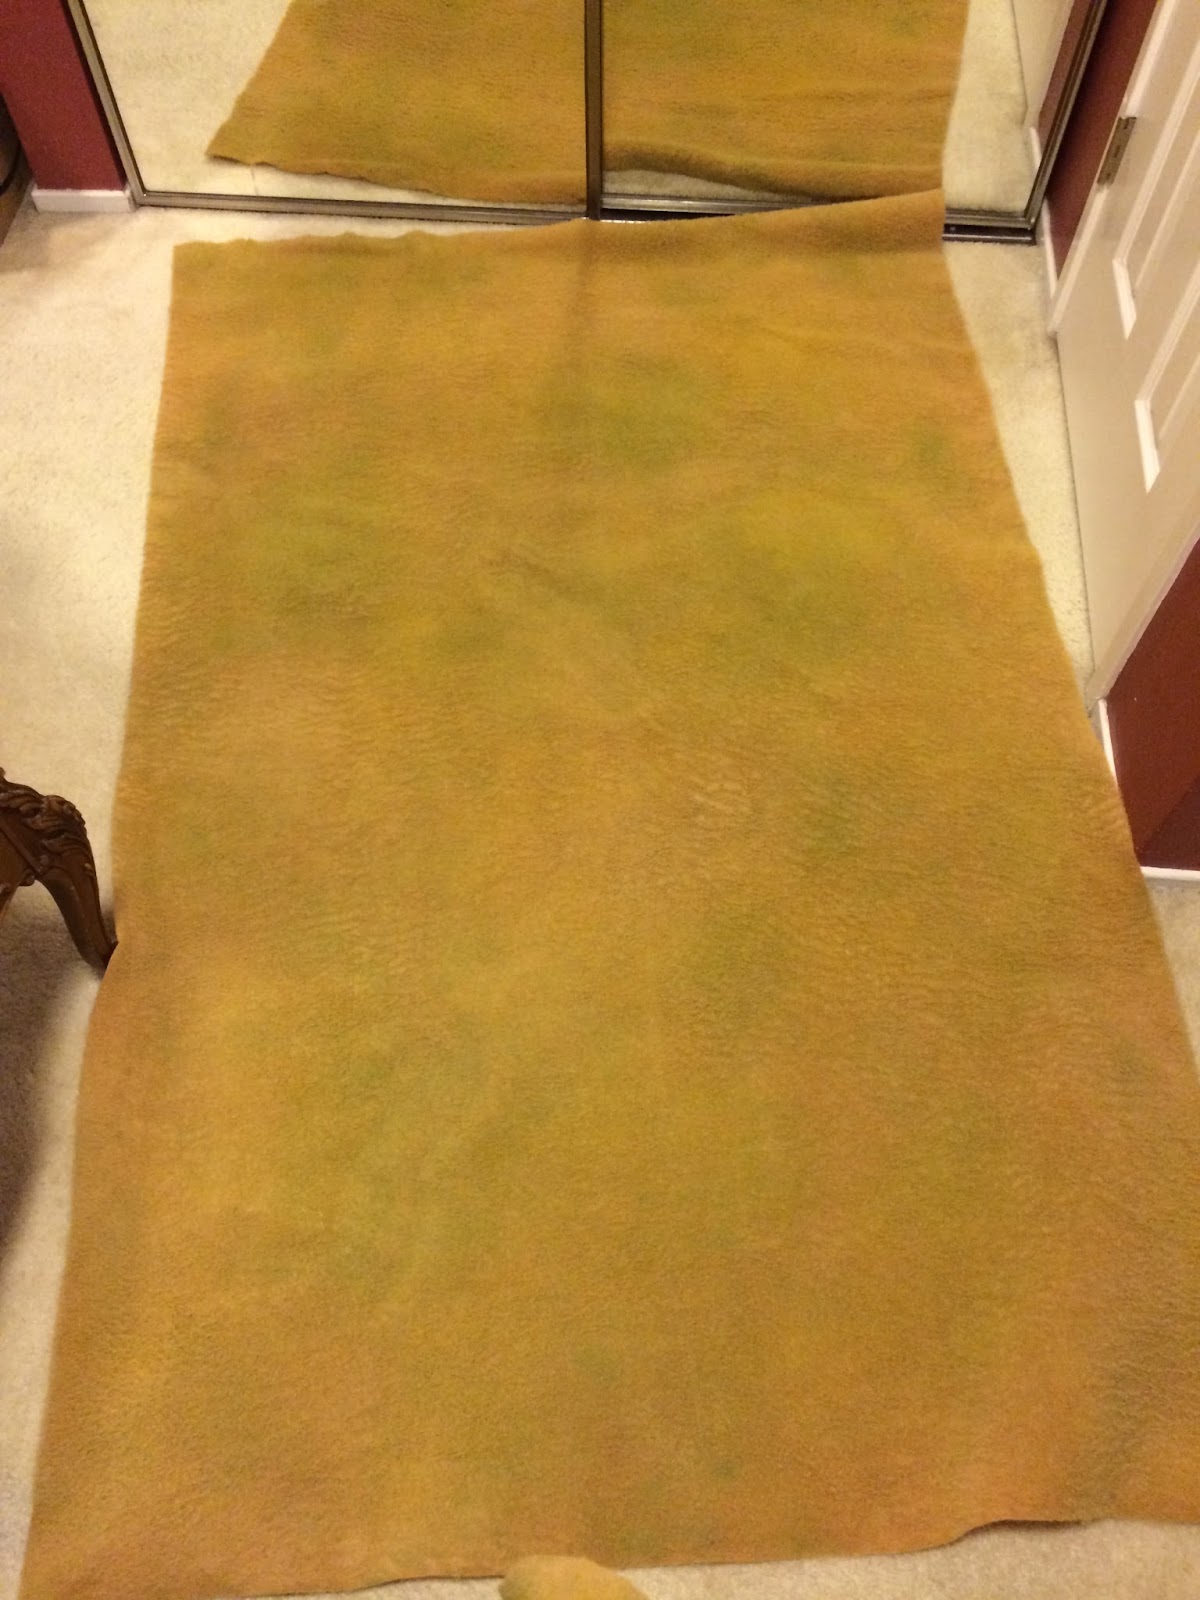
So far I've been using my standard green flocked mat for my African figures, but I've never been happy with it, as I feel it doesn't look right for the African savannah. As such, I've been on the search for something more appropriate that wouldn't break the bank. I've seen several people using variations on teddy bear fur, and came across this well done tutorial from Thames Valley Wargamers. It didn't seem too complicated, so I decided to give it a shot.
Strolling through the local fabric store, I came across both long haired fur (as seen in the tutorial) and short haired synthetic felt . The long haired fabric ran $12 per yard vs. $5 for the short, so I opted to go the cheaper route. Plus, it would save me having to shave the fabric and I thought it would look better if I wanted to also use it for 15mm figures. The cloth was 45 inches across, so almost perfect for a 4x6 table. The store had 4 colors available: chocolate brown, honey, ivory, and grey. The honey was a bit more yellow than I wanted (my hope was for a tan), but it seemed the best choice out of what was available. I picked up 9 feet of material; 6 for the game mat, and 3 for test painting and use in making terrain pieces for the mat.
I wanted my mat to look appropriate for the start of the dry season, so I decided it would have hints of greens, but would be mostly yellows and tans. As such, I picked up the following acrylic paint colors: Hauser Light Green, Citron Green, Golden Straw (All from Americana paints), and Sandstone (Apple Barrel paints). The tutorial recommended diluting the paint with water and applying with a sprayer, but did not say how much to dilute it. I originally tried approximately 1 part paint to 3 parts water, but it ended out coming out spotty on the test cloth:
To try to minimize the damage done to the cloth, I decided to spread these spots out using a sponge. I first went with the nape of the cloth, then against it to try to make clumps and waves of color.
As I continued with the additional colors (I was going from dark to light), I moved on to 1:5 mix ratios, which helped improve to paint spread, but I still rubbed it in against the nape in random directions with a sponge to minimize color clumping. At the end of the afternoon, I ended up with this:
The color changes were subtle, but I thought it looked pretty good on the patio. However, that changed once I brought it indoors and looked at it under artificial light. The color differences were not really apparent and overall it just looked too yellow. A second round of spraying was going to be required and I'd have to better saturate with paint.
For round two, I decided to start with the sandstone and then go from dark to light with the greens/yellow. I also decided to dilute the paint more (1:10) in hopes of having it work further into the hairs. At this dilution, the spray was a much finer mist that spread better. I put on a bit more than last time, and let some areas sit as is, while using the sponge on others (again against the nape). This resulted in something a bit better:
With the additional paint covering the fabric, the hairs also started to clump in nice waves, giving a nice random pattern to the texture which I liked. At the end of round two, I ended up with a mat that had much more pronounced color difference (at least in the sunlight):
So how did it look once I got it inside? Under bright florescence lighting it held up pretty good, but under more yellow "warm" lighting, it wasn't a s bold as outside. However, I think it will still work ok.
The only thing I was a bit disappointed about is that the bulk of the color work seems to fade away when you get up close, so it doesn't work as well as I hoped for photographing miniatures up close.
Still, at the end of the day I am happy with what $20 of supplies and two afternoons of work got me.


It does look rather nice, so I think you've succeeded.
ReplyDeleteThanks Rob!
ReplyDelete